This bundle opens in...
Get on the waitlist!
The Pretty Productive Bundle will only be available at a tiny price for a few short days because the content is SO VALUABLE!
You don't want to miss the productivity deal of the year, so hop on the waitlist now!!

If you'd like to be a contributor, register your interest here.


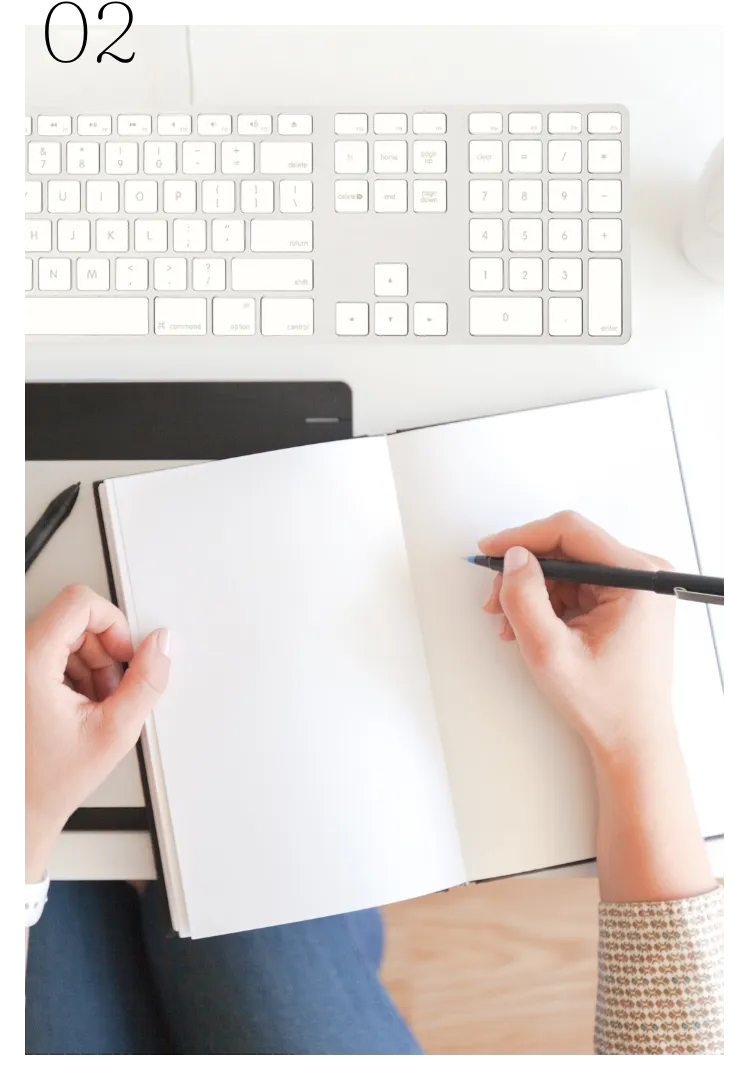
Are you tired of feeling overloaded with To Do's and are ready to start living your most productive life?
Did you know that you can actually become more productive without having to spend forever hunting down the best tools?
This bundle is now closed.
Get on the waitlist to be the first to hear when we re-launch!
You absolutely love the feeling of checking things off your list.
How to Manifest Your Wildest Goals.
But trying to juggle your home, your work, your wellbeing, all whilst achieving your goals? That’s another story.
There’s the never-ending laundry mountain, your bulging email inbox, and let’s not mention that growing pile of overdue tasks that seem to be constantly mocking you.
And you’ve tried random hacks hoping they'll make a difference.
But somehow, no matter how late into the night you work to cross things off your list,
you can’t seem to make progress.

The truth is, you don’t have to keep burning the candle at both ends in order to become more productive.
How to Manifest Your Wildest Goals.
What you need is a toolbox that will help you start living your most productive life without having to waste time.
Introducing...

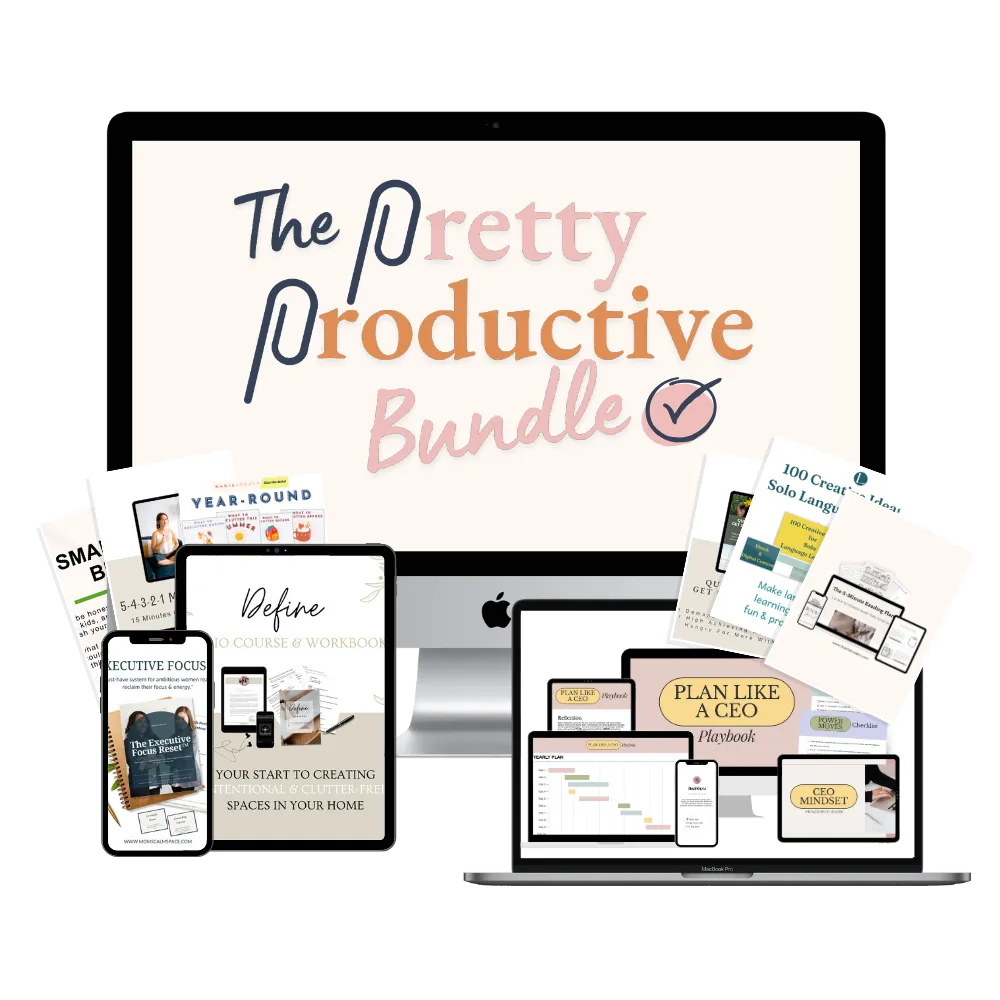
A carefully curated collection of over 30 products for busy people who are ready to stop feeling overloaded with To Do's so they can start living a more productive life without burning out.
And from the
20th to 26th May 2025
you can get access to all of it for only
$27!
You’ll have until the 25th of July 2025 to browse all the offers and sign up for the ones that catch your eye.
has everything you need to start living your more productive life, broken down into five categories, so you can easily find exactly what you need, when you need it…and ignore anything you don’t!
Planning & Organisation
These are the foundational pillars of a more productive life. Planning is like sharpening your axe before cutting down a tree.
Abraham Lincoln said that if you gave him 4 hours to cut down a tree, he would spend 3 of them sharpening his axe. That’s how important planning is!
Creating an effective strategy of how you’ll use your day or week will make it 100 times more productive!
Mindset & Motivation
Productivity is based on action. But action begins in your mind.
Therefore having the right mindset and tapping into your own motivation will go a long way towards helping you become more productive.
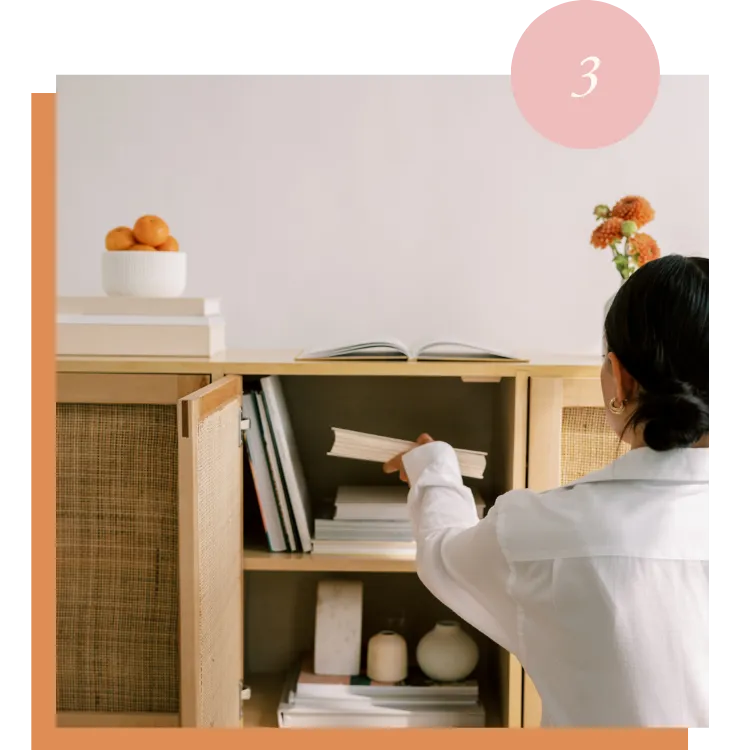
Home & Environment
Your environment plays a crucial part in your productivity. Messy spaces cause distraction and create background stress that can impact your ability to focus and think clearly.
Let's get your home and workspace working for you!
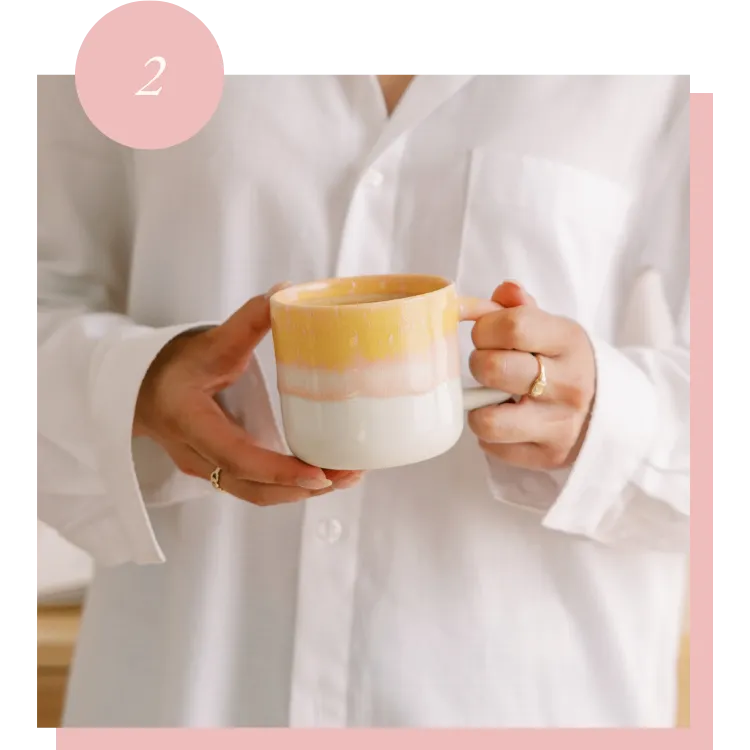
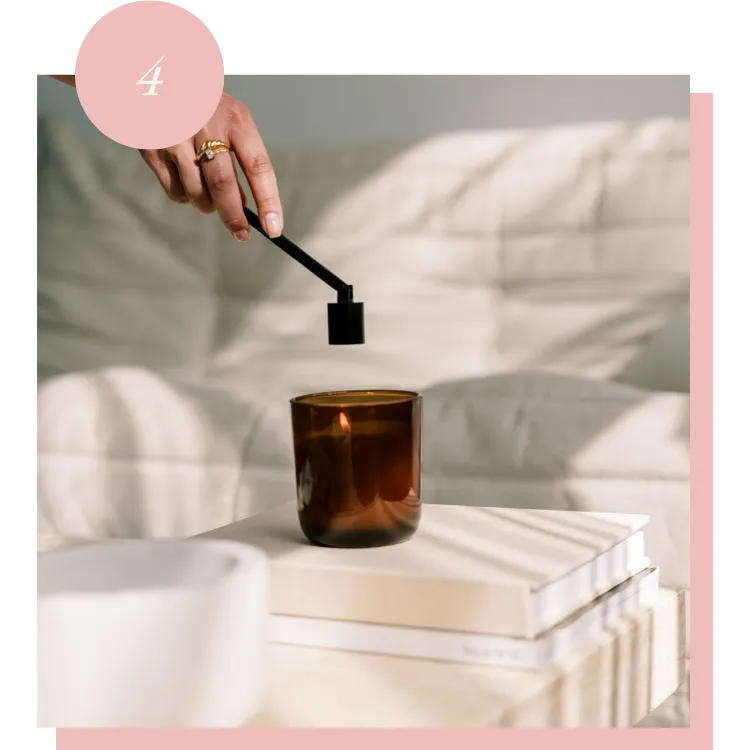
Wellbeing & Self-Care
If you're seeing this, then you're probably someone who's always busy and often burning the candle at both ends.
But burning out is the fastest way to wreck your productivity. Use the tools in this section to help you rebalance, reset, and recharge yourself.

Learning & Growth
The tools in this section are all aimed at giving you new skills.
You're likely to produce better results in something when you've improved your skills in that area. So let's skill up!
"When we strive to become better than we are, everything around us becomes better too."
paulo coelho
Hi! I'm Elisa
I’m your host, and I know the feeling of spinning your wheels and wondering whether you're actually making any progress. I started my productivity journey 15 years ago and I'm still improving today.
That’s why I’m so delighted to provide you with resources to help you improve your productivity all in one place. Let's get more productive together!

Contains everything you need to...
create more balance
help you take action
declutter your space
improve your results
All in ONE PLACE, available only between
20th to 26th May 2025
You’ll have until the 25th of July 2025 to browse all the offers and sign up for the ones that catch your eye.
Now you can easily become more productive in the next few months,
without spending thousands of dollars to learn how!
Here's a peek at some of the items you'll find inside the

100 Creative Ideas for Solo Language Learners ($60 value)
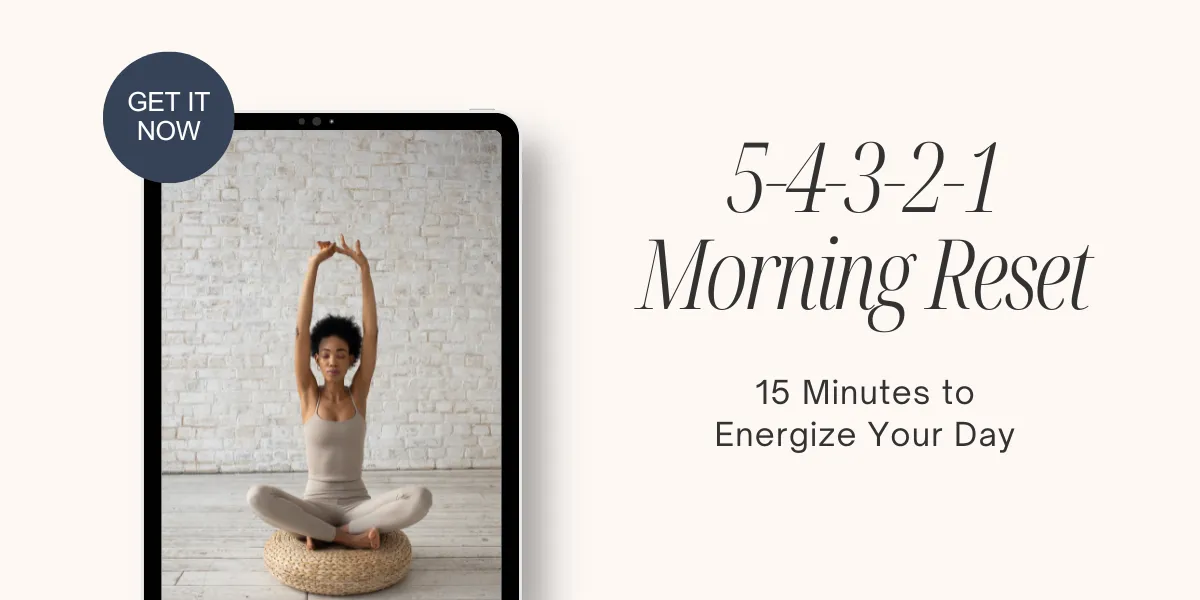
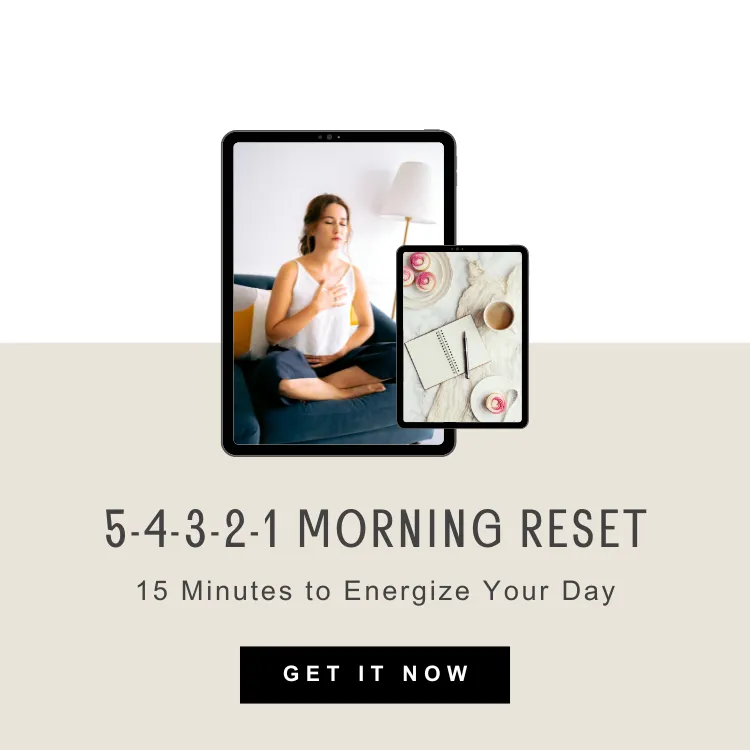
5-4-3-2-1 Morning Reset Method ($30 value)
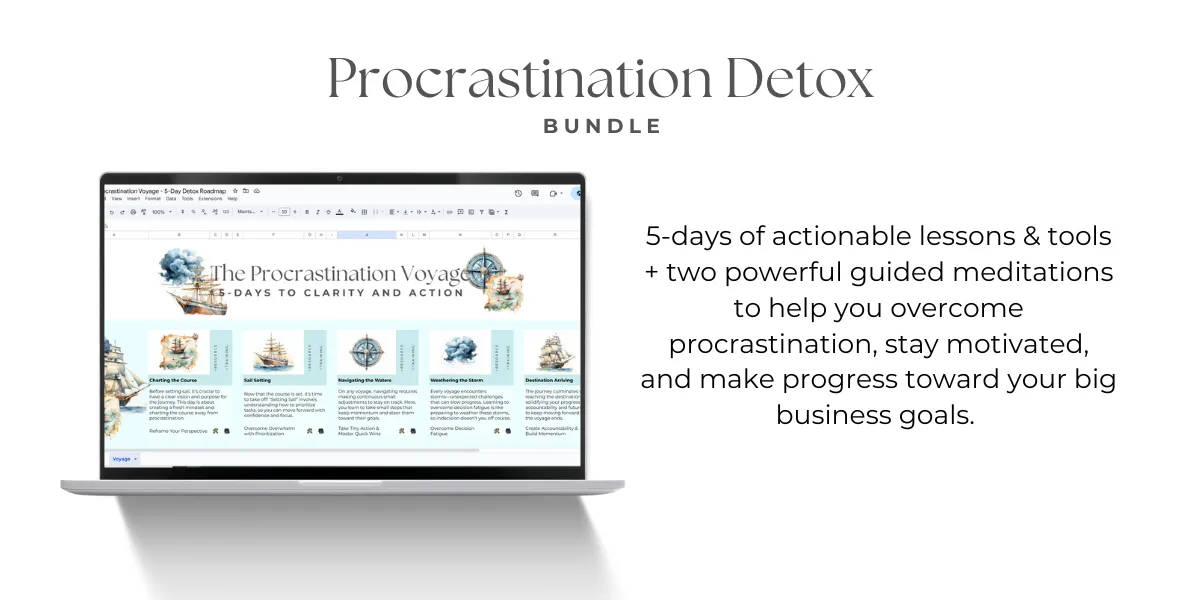
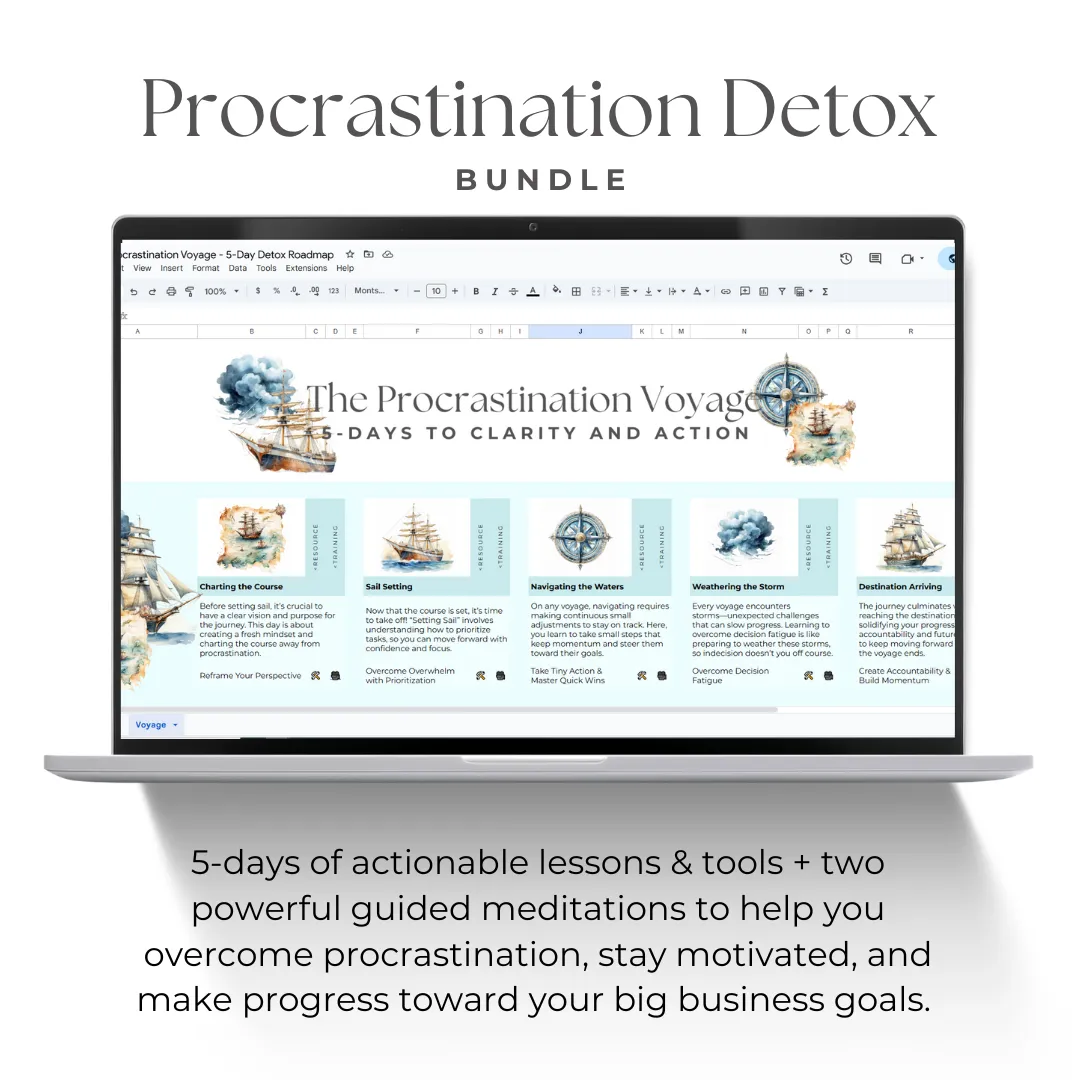
5-Day Procrastination Detox Bundle ($27 value)
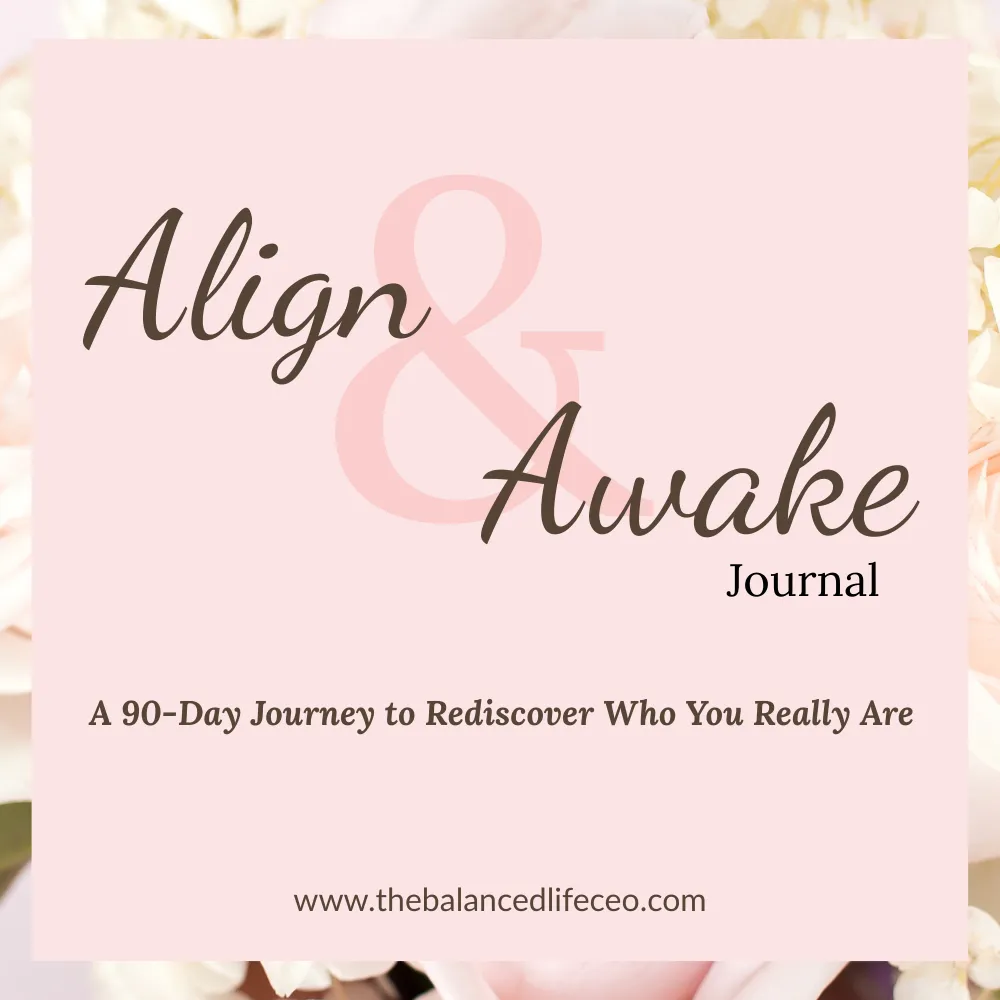
Align & Awake Journal ($29.99 value)
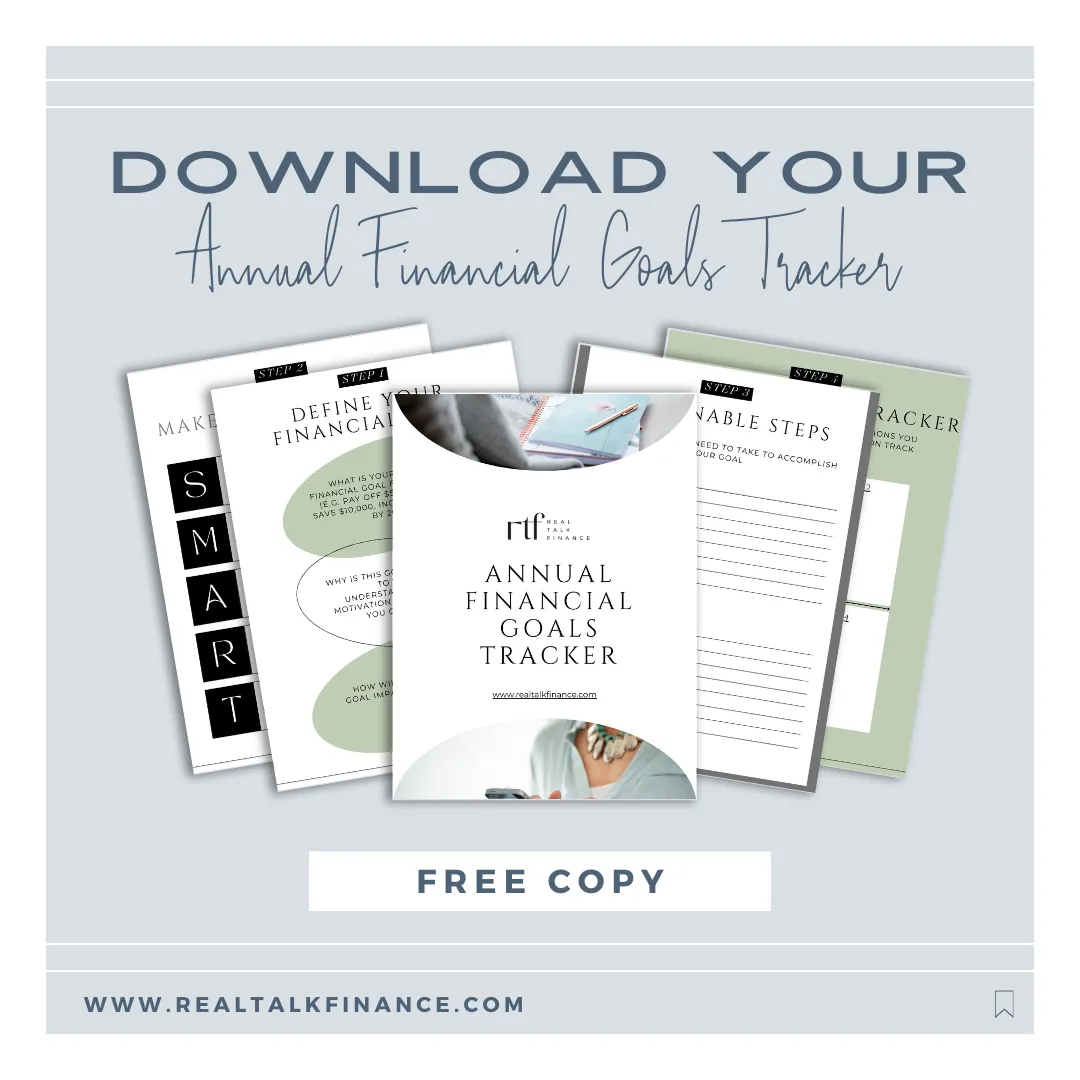
Annual Financial Goals Tracker ($27 value)
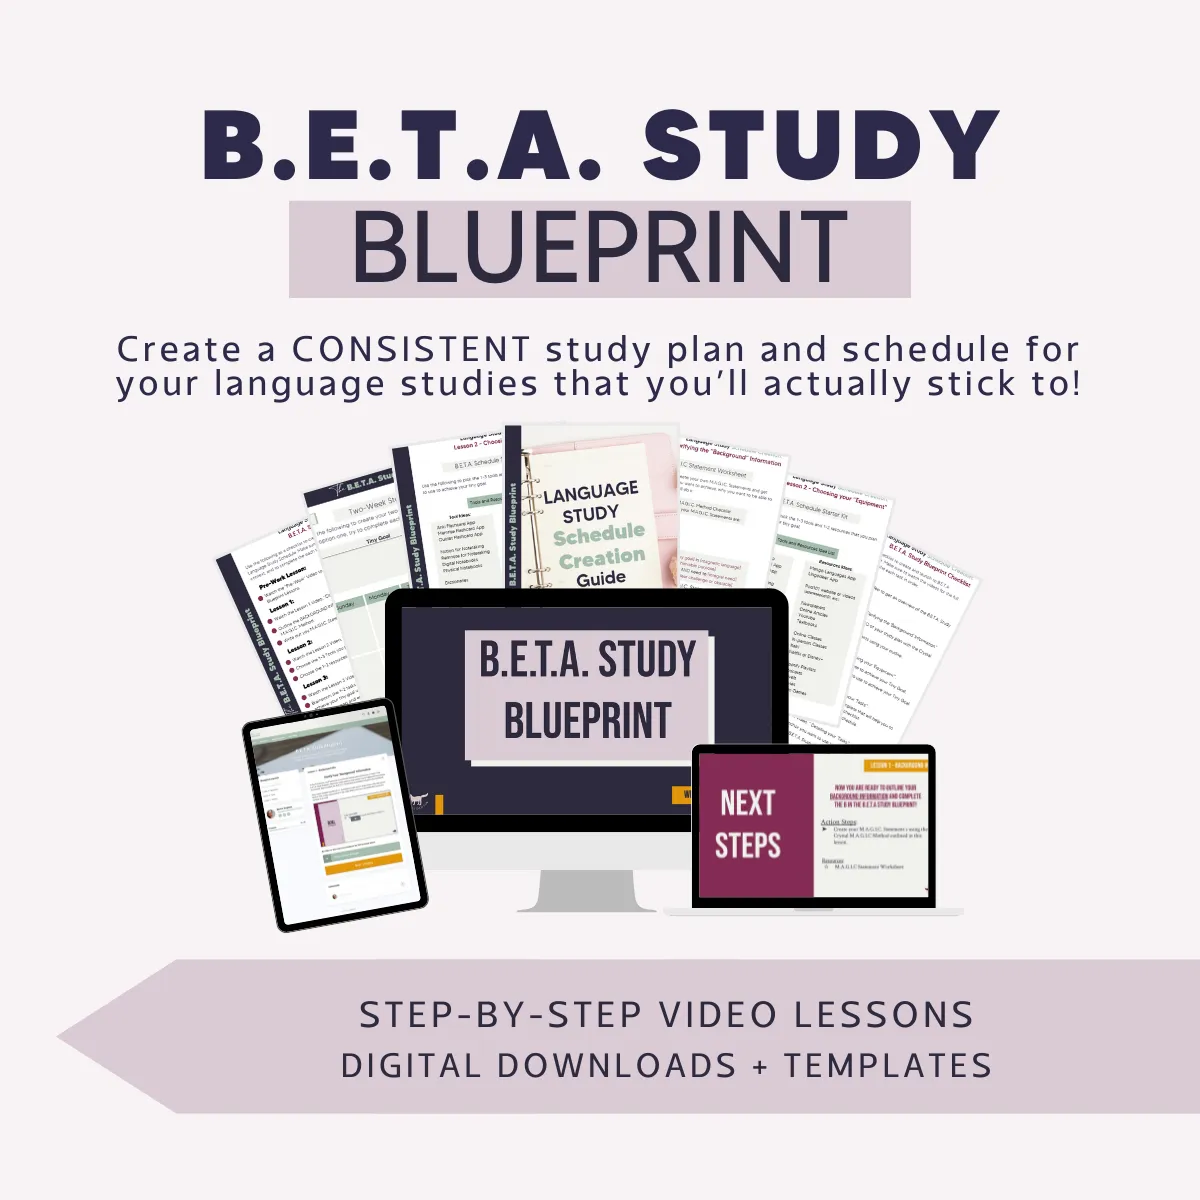
B.E.T.A. Study Blueprint ($67 value)
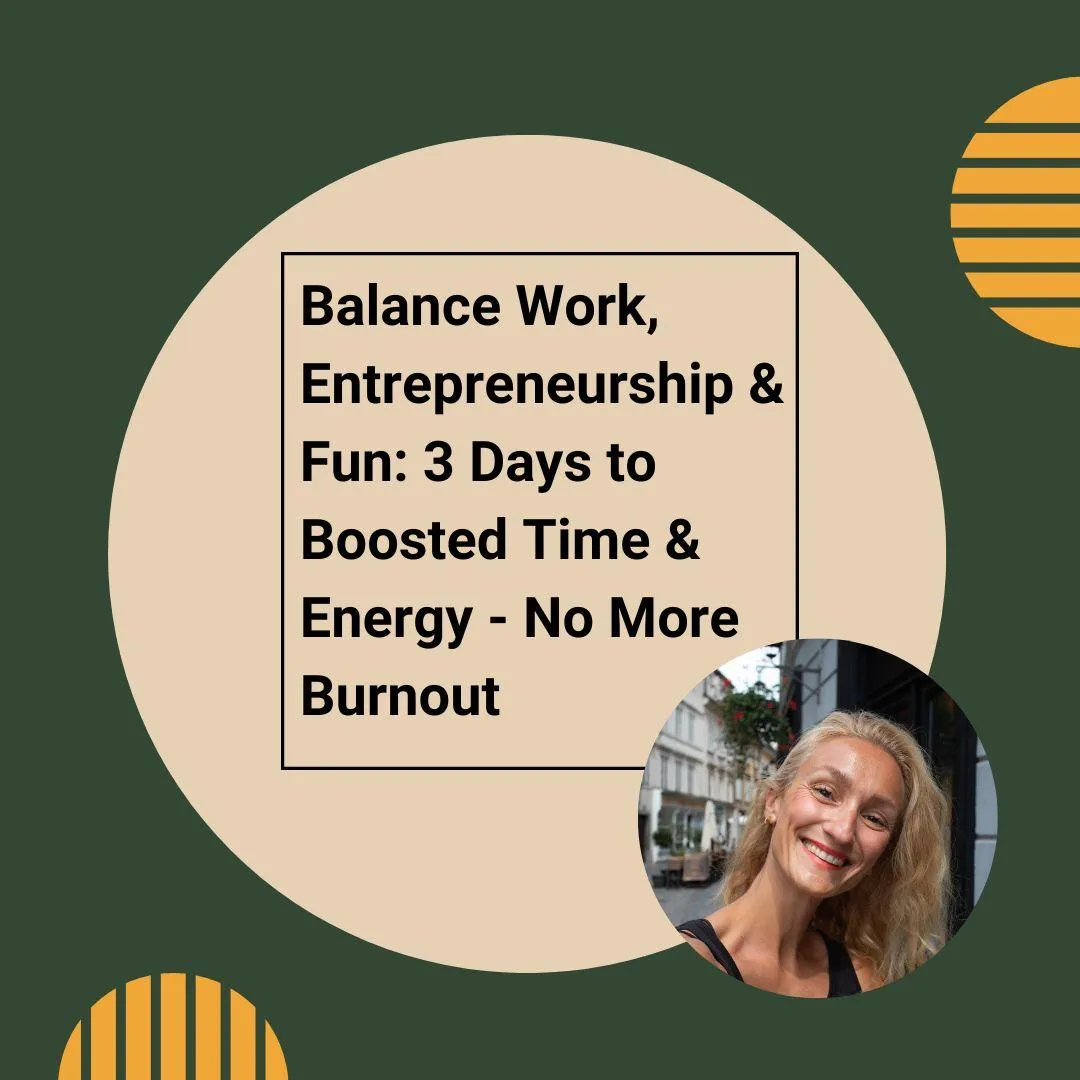
Balance Work, Entrepreneurship & Fun: 3 Days to Boosted Time & Energy -No More Burnout ($29 value)
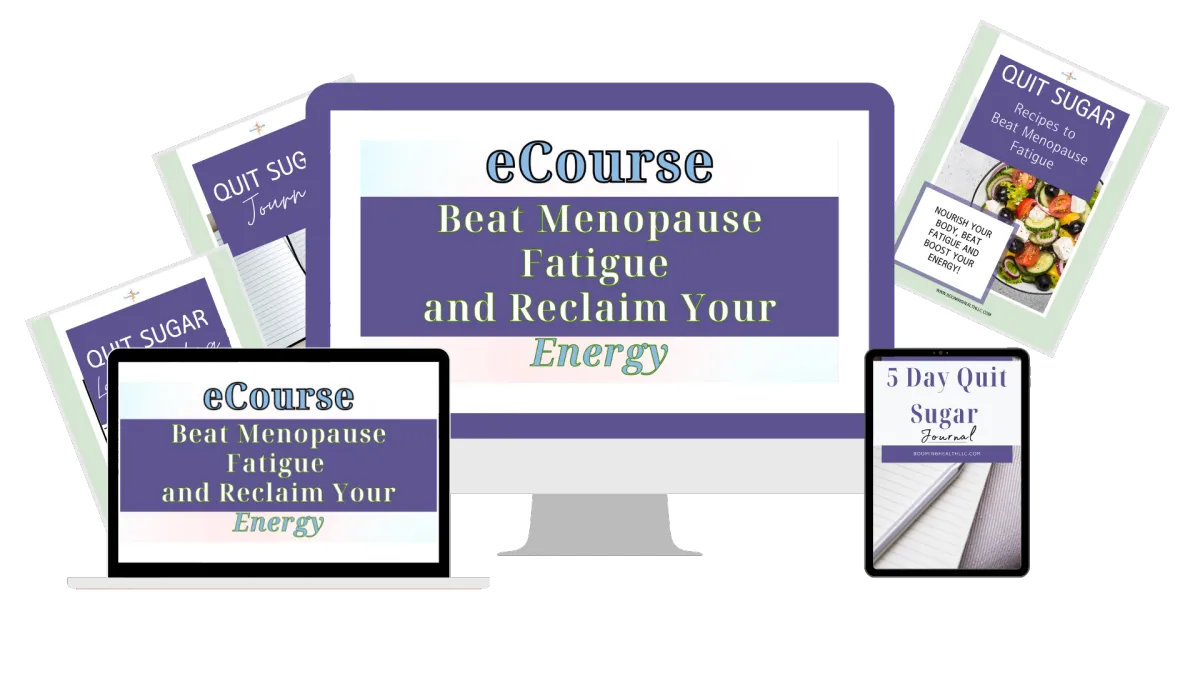
Beat Menopause Fatigue and Reclaim Your Energy eCourse ($27 value)
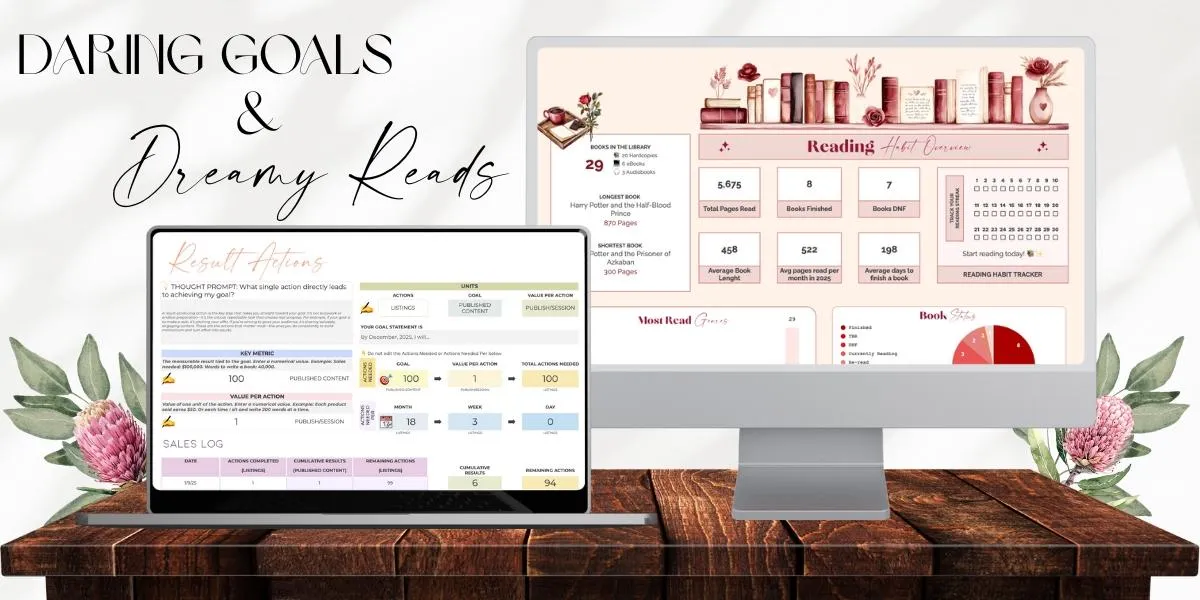
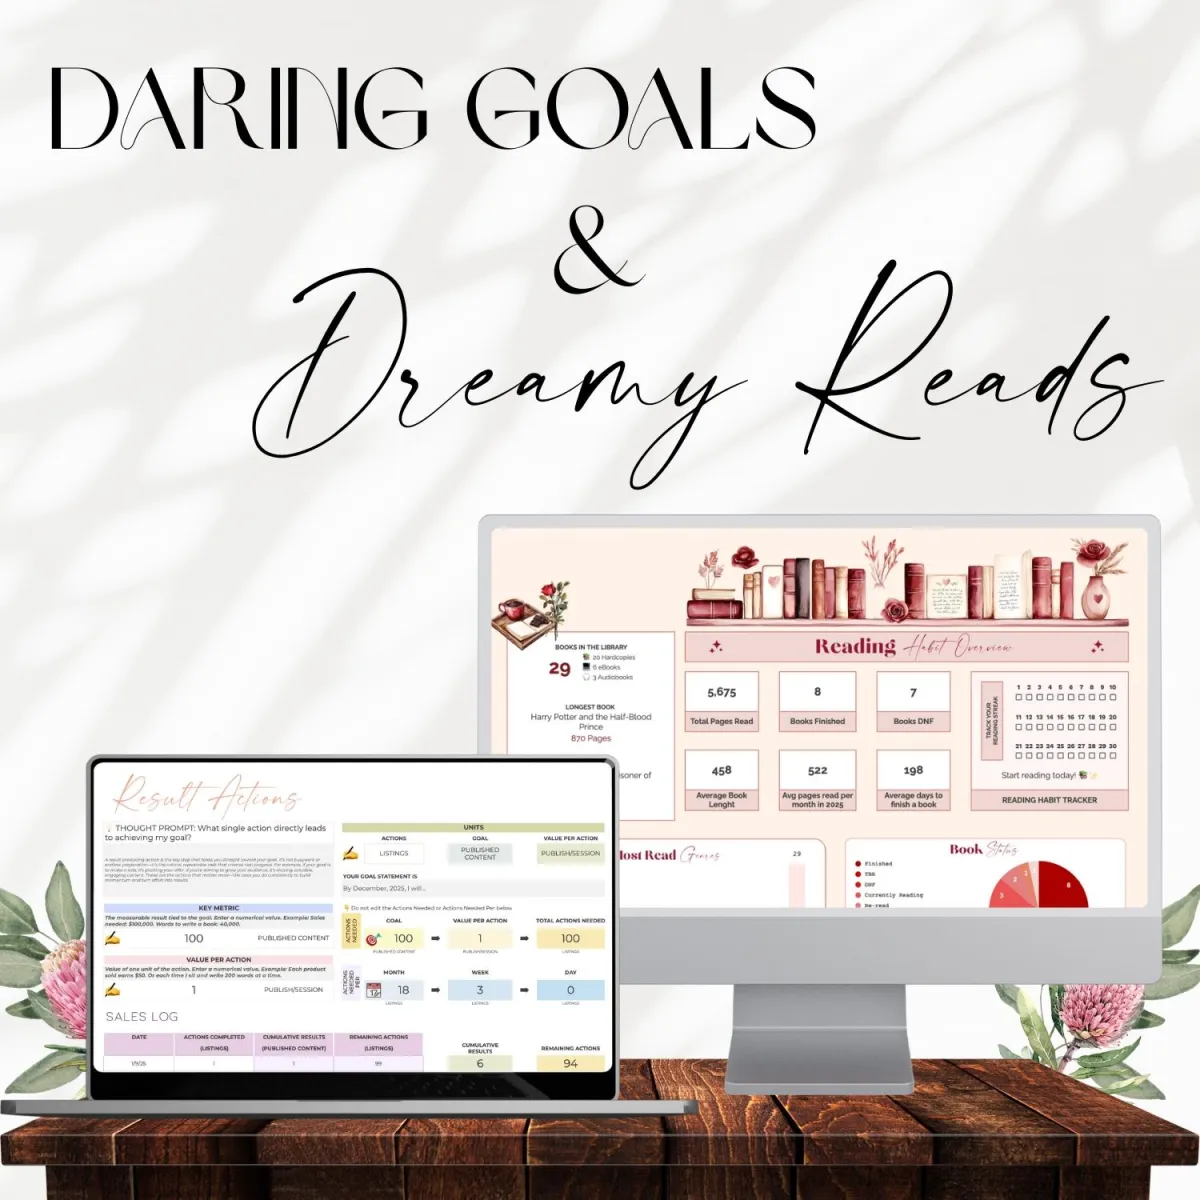
Daring Goals & Dreamy Reads Bundle ($27 value)
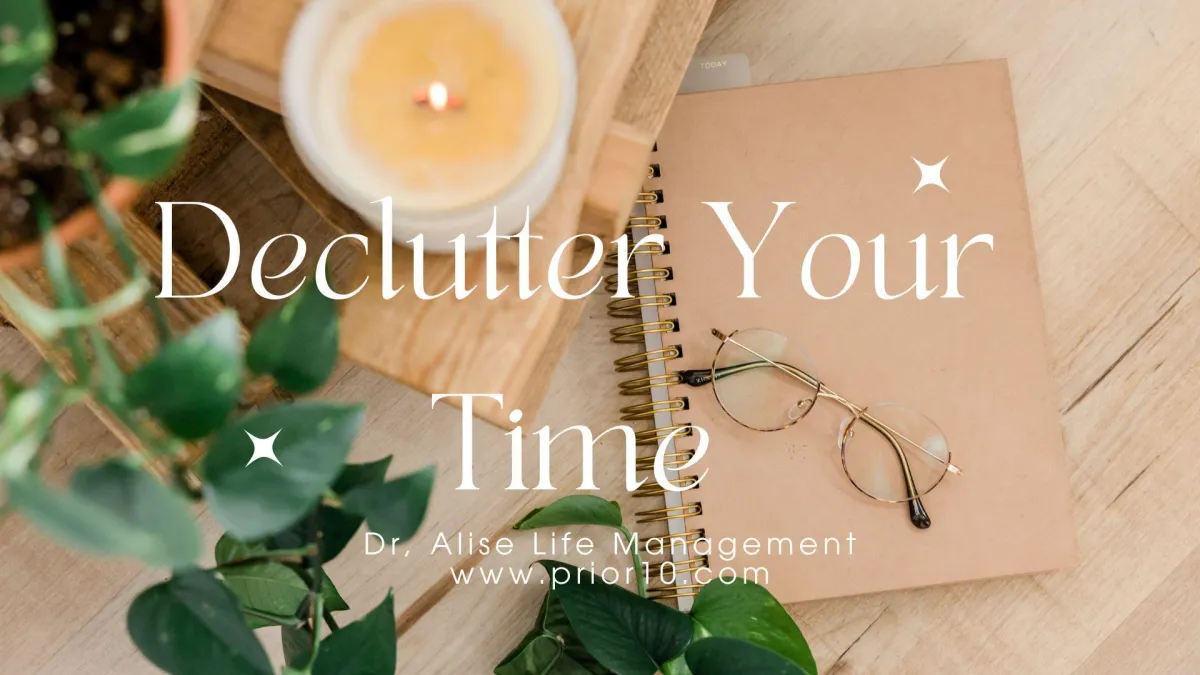
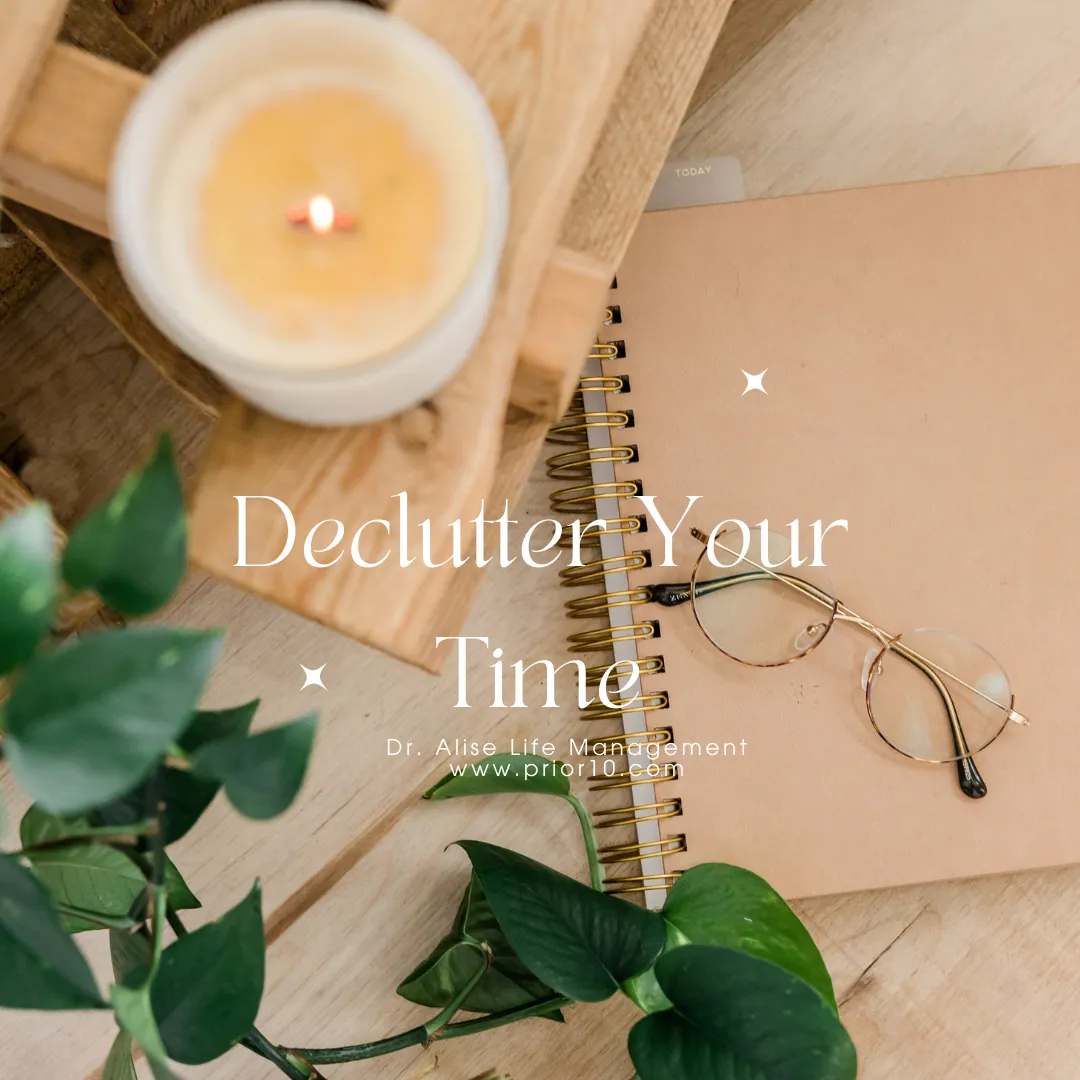
Declutter Your Time Course ($37 value)
Decluttering Recipes ($27 value)
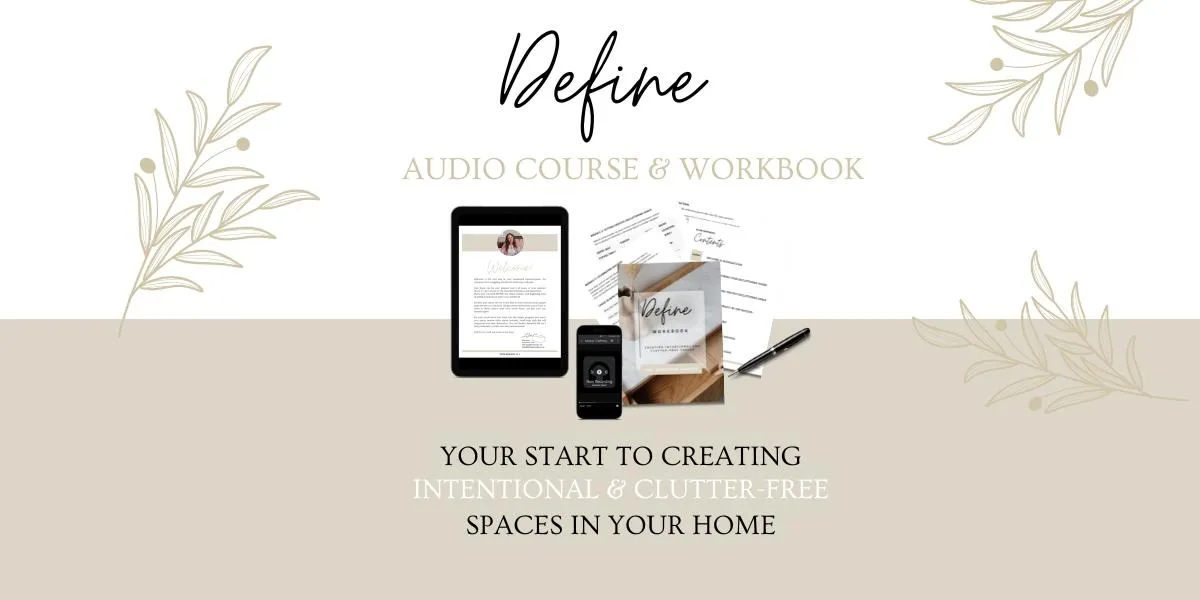
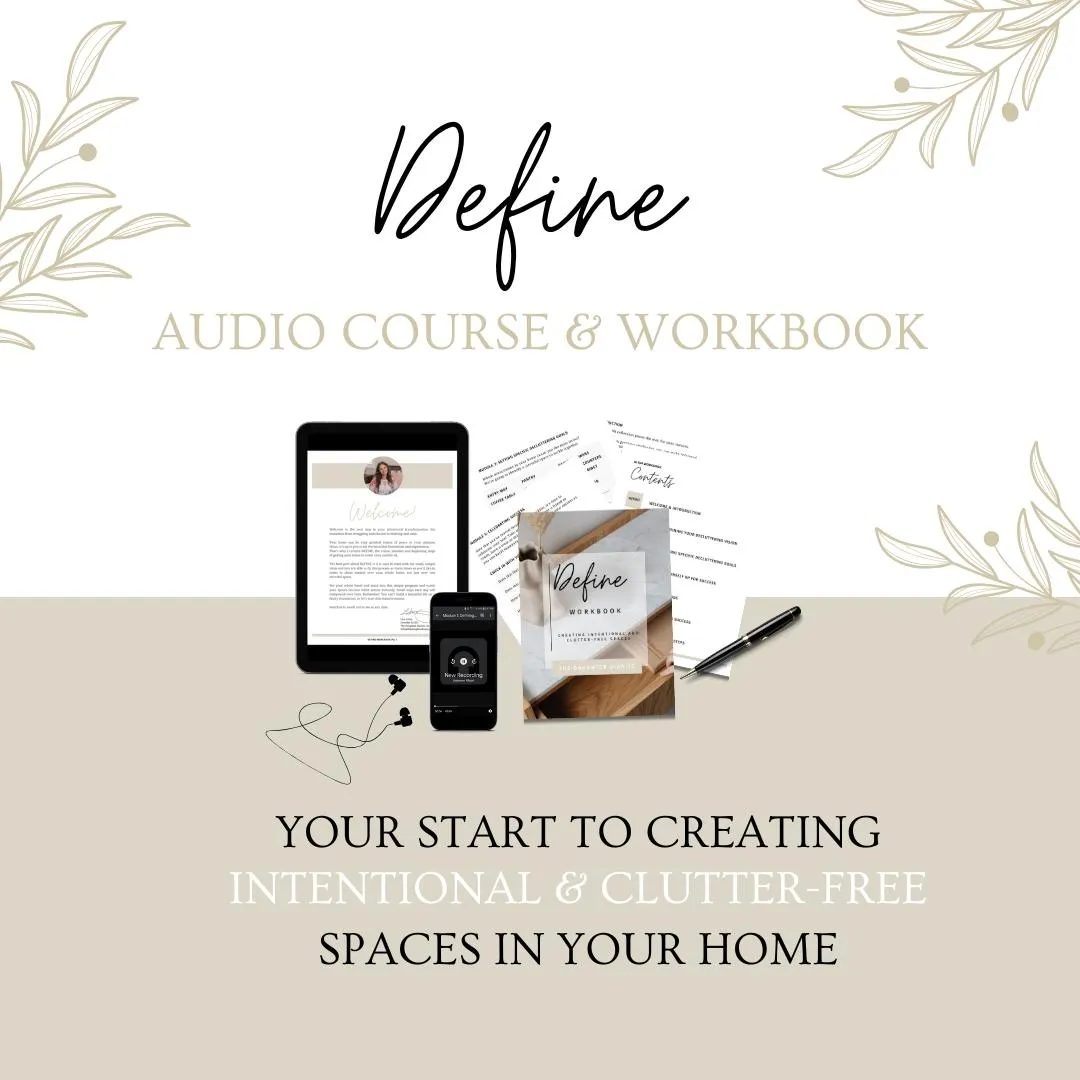
DEFINE: Creating Intentional and Clutter-Free Spaces ($27 value)
Effortless Beauty for Busy Women Over 35! ($37 value)
Empowerment Essentials ($75 value)
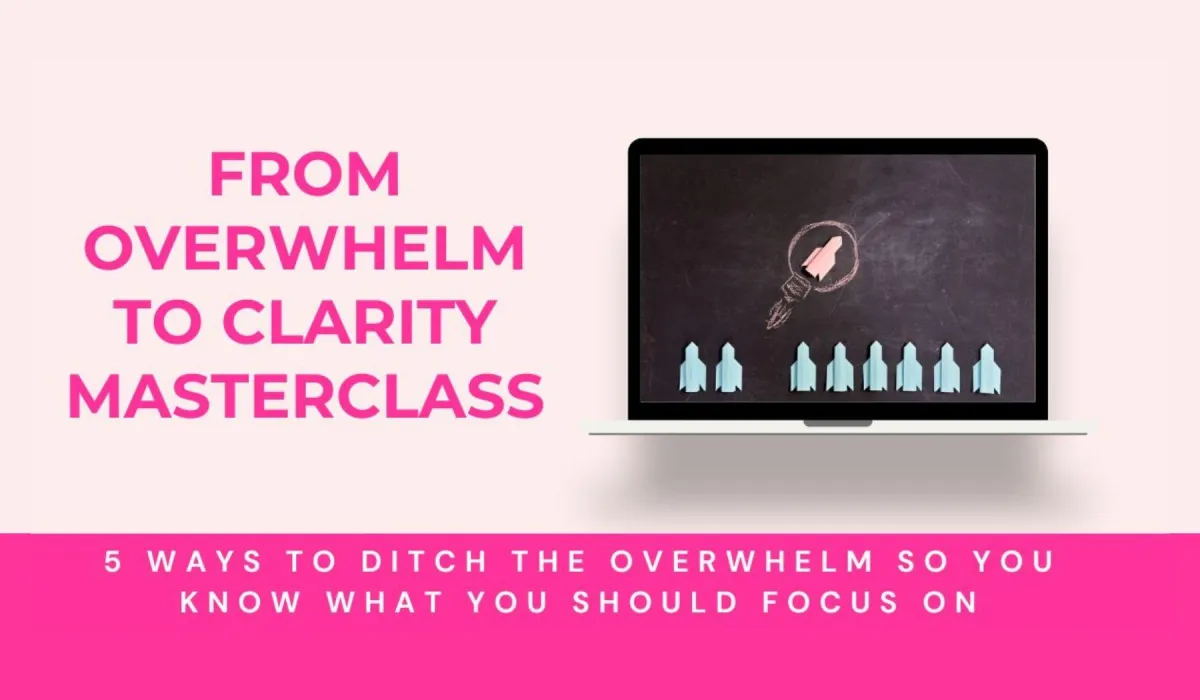
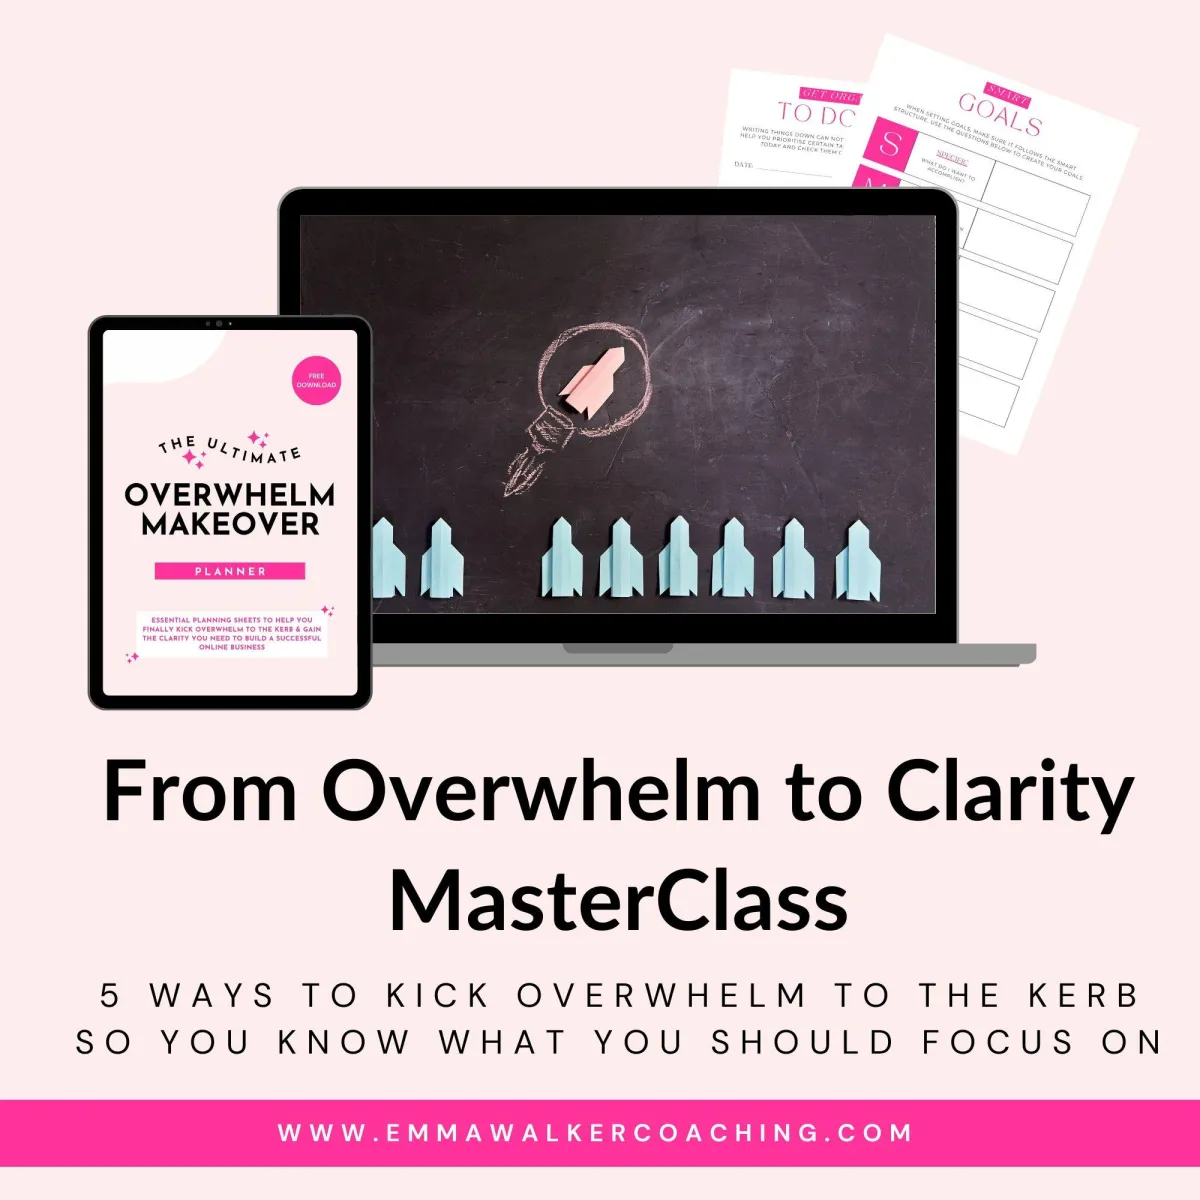
From Overwhelm to Clarity MasterClass ($27 value)
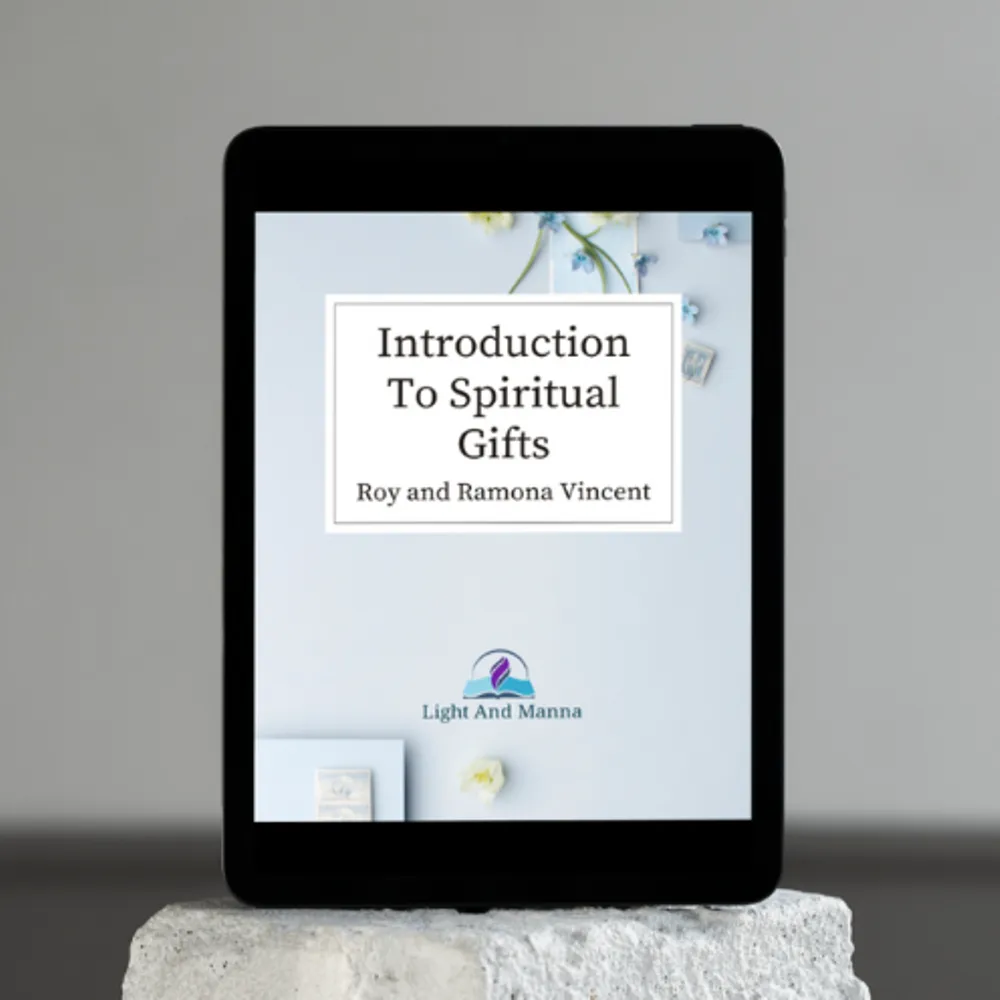
Introduction To Spiritual Gifts ($29 value)
Less Housework, More Side Hustle - Here's How ($35 value)
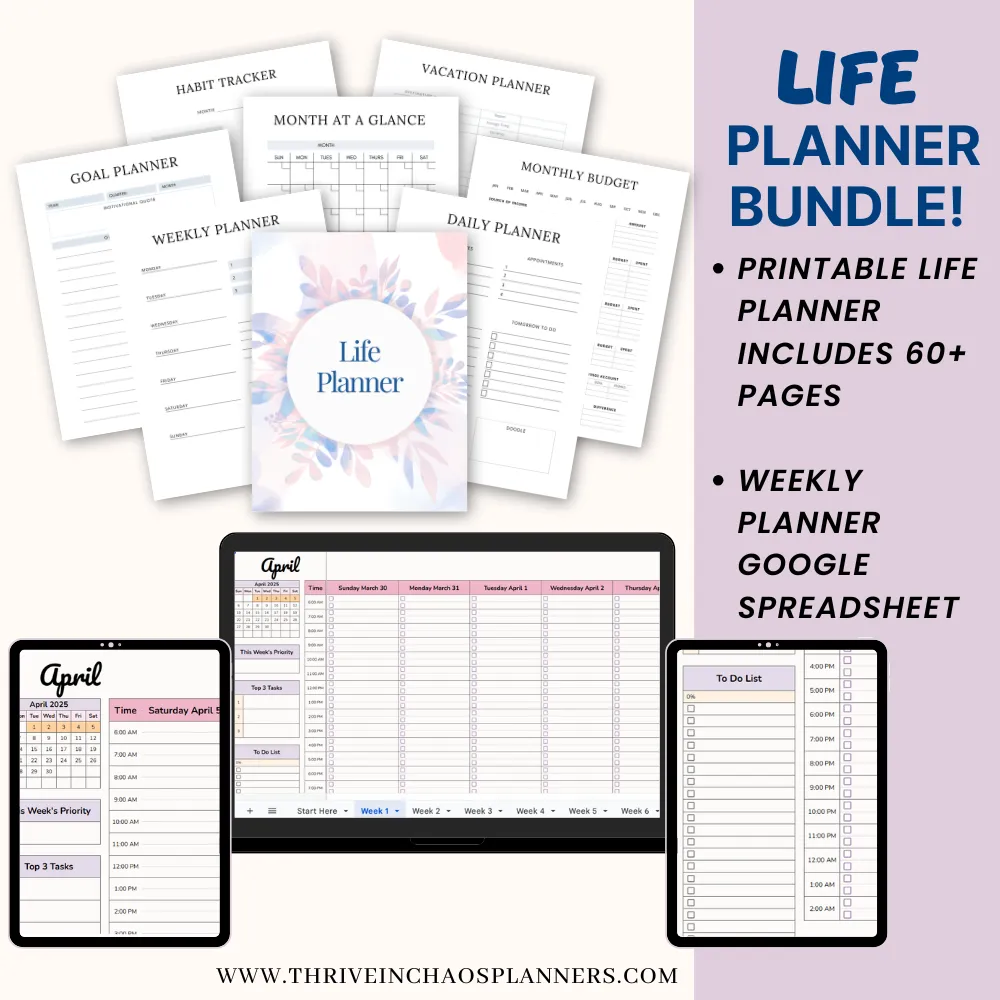
Life Planner Bundle ($27 value)
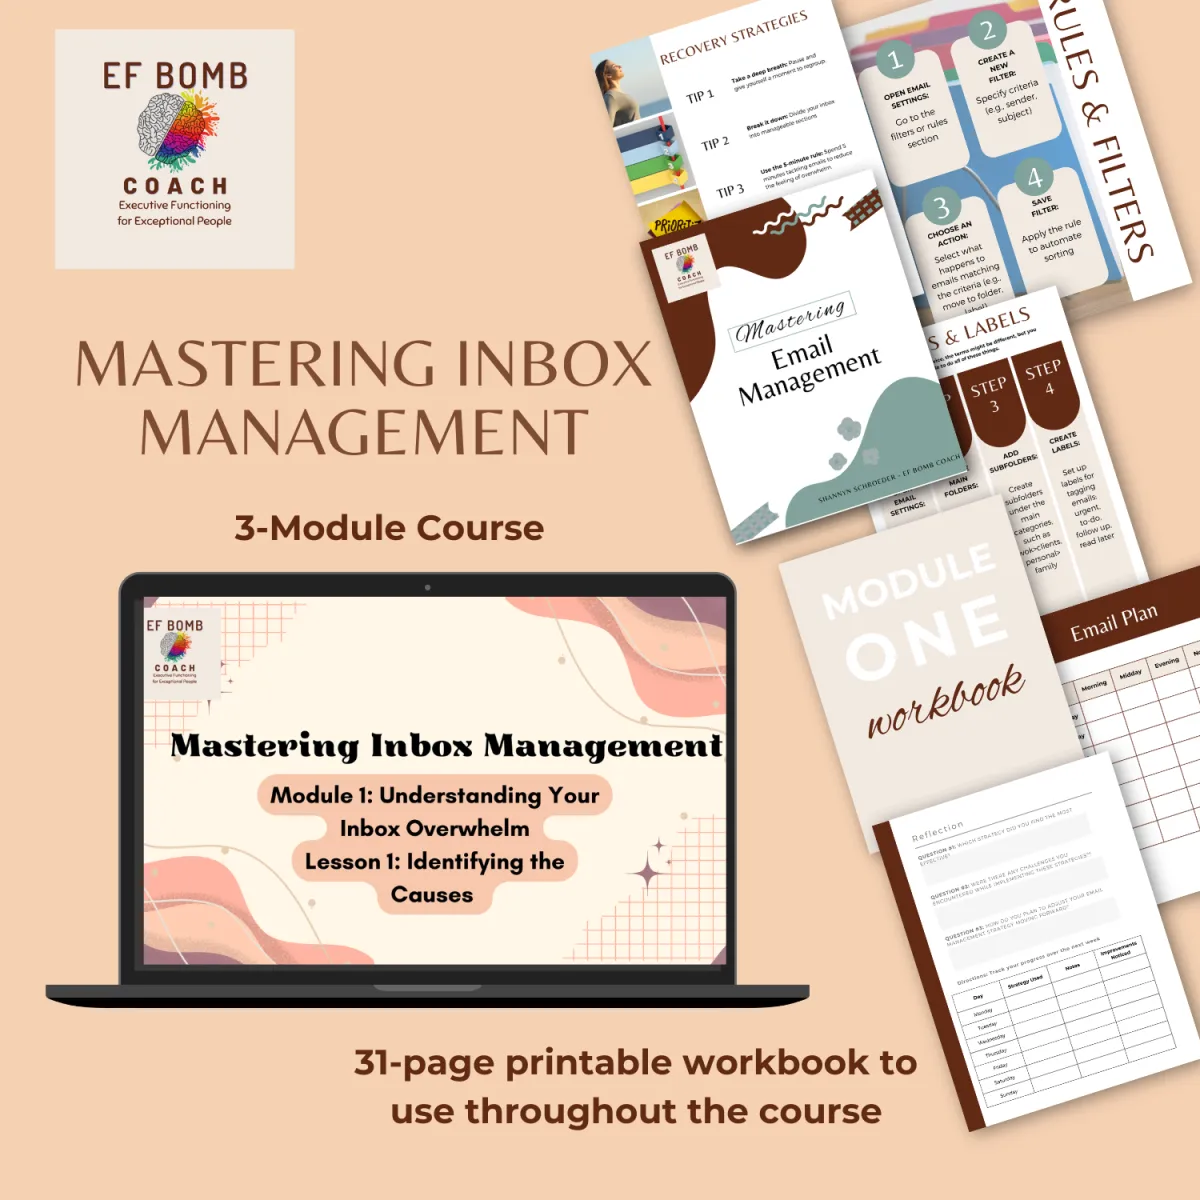
Mastering Inbox Management ($27 value)
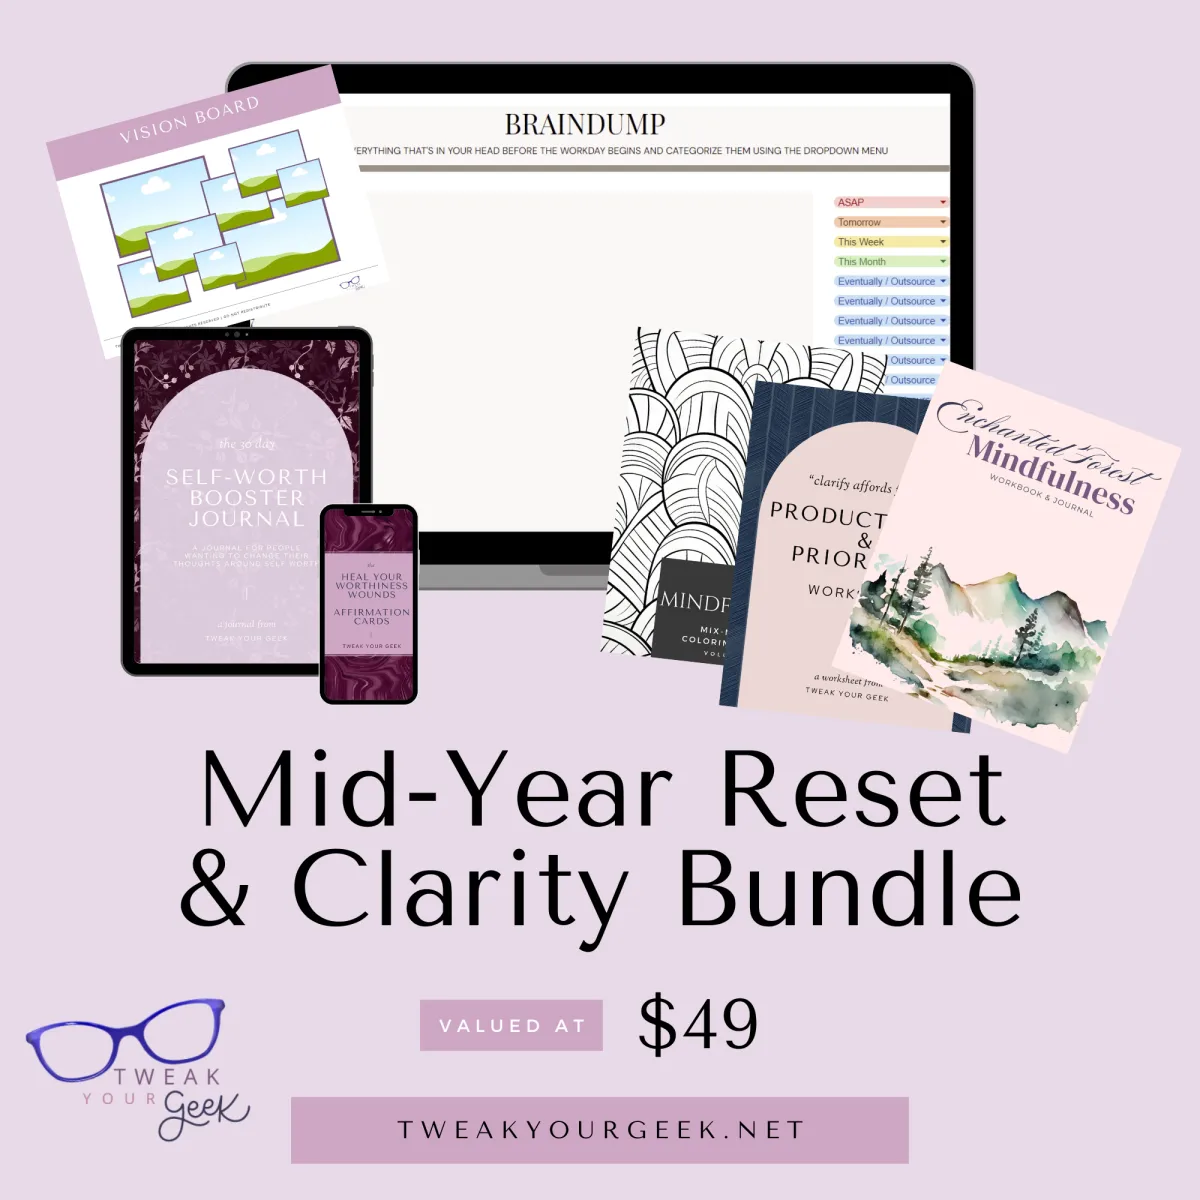
Mid-Year Reset & Clarity Bundle ($49.99 value)
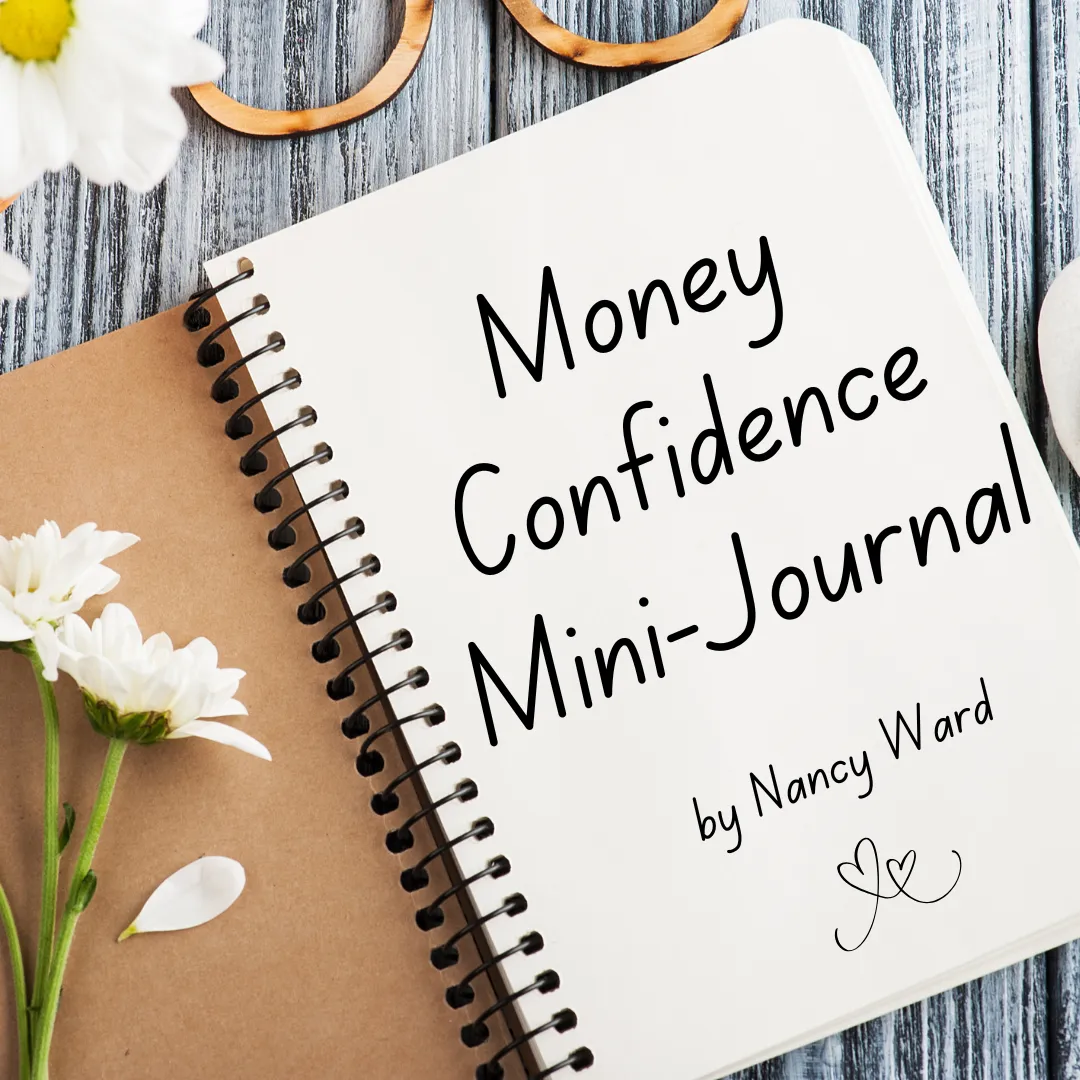
Money Confidence Mini-Journal ($27 value)
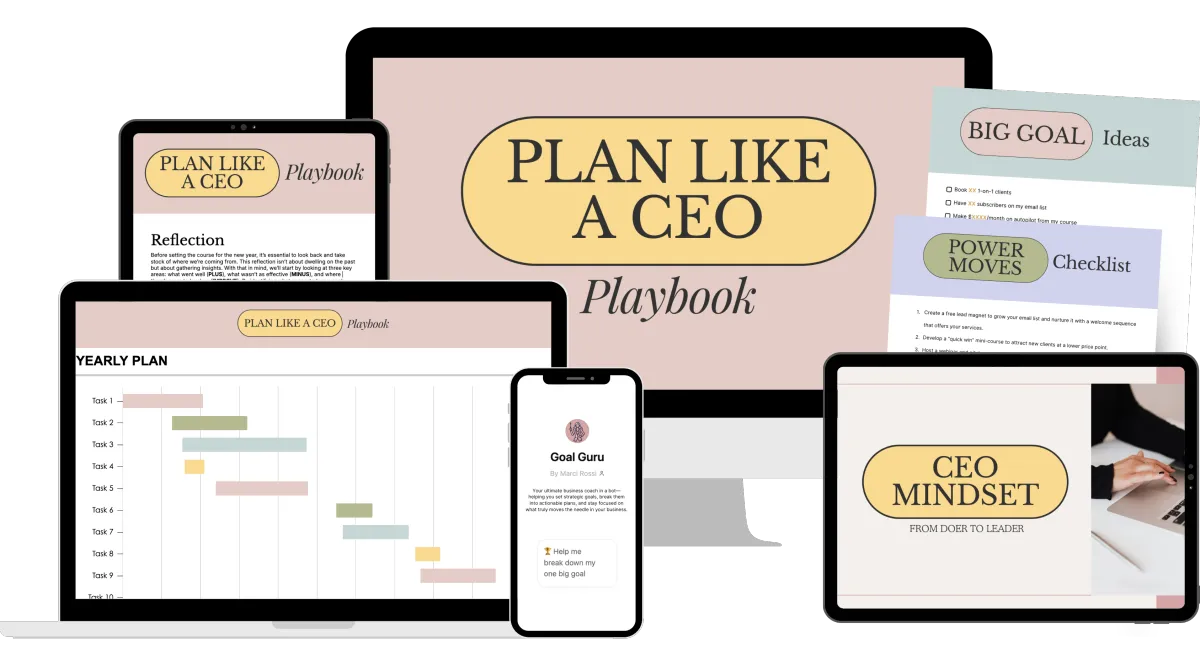
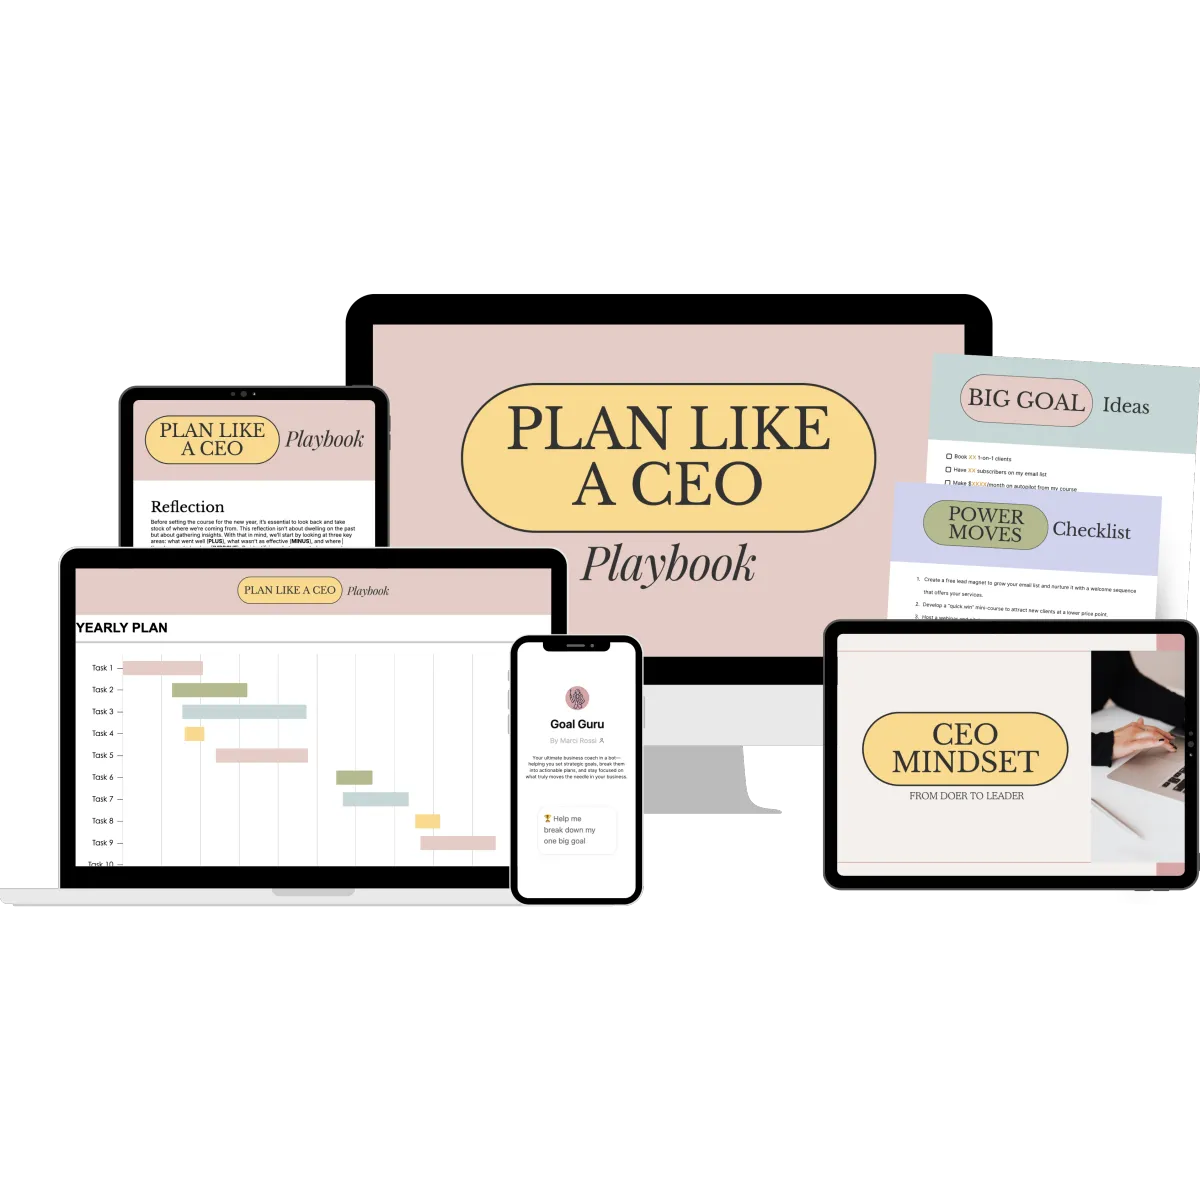
Plan Like a CEO Playbook ($44 value)
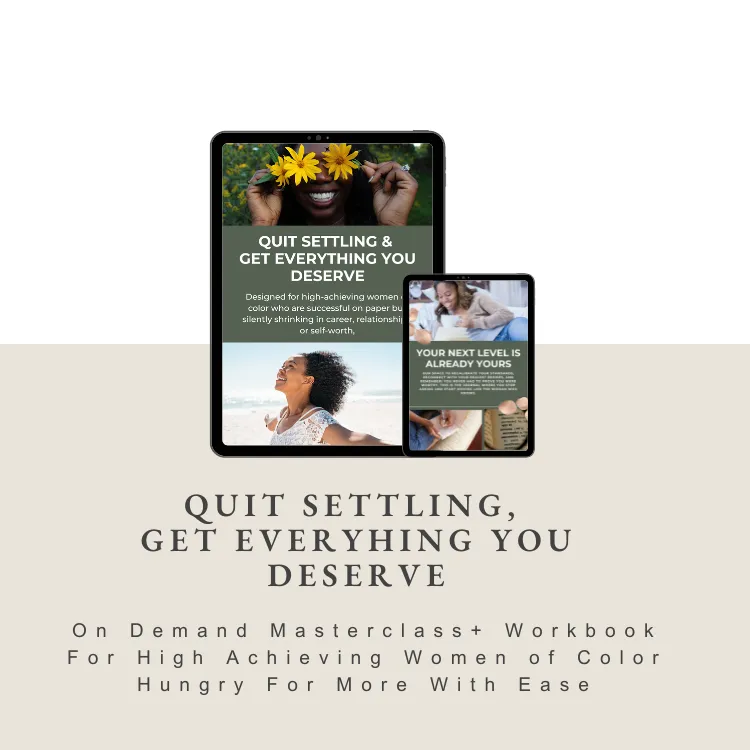
Quit Settling, Get Everything You Deserve ($200 value)
Small Steps, Big Wins ($27 value)
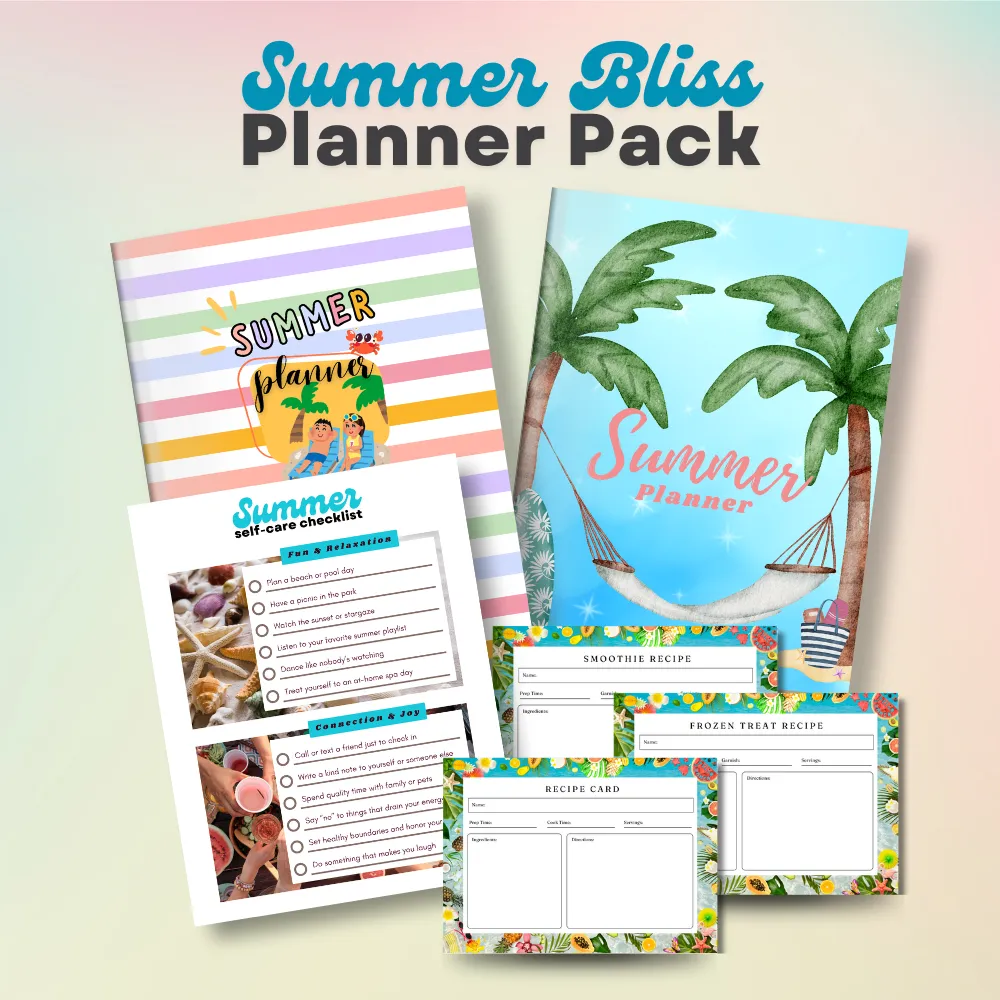
Summer Bliss Planner Pack ($27 value)
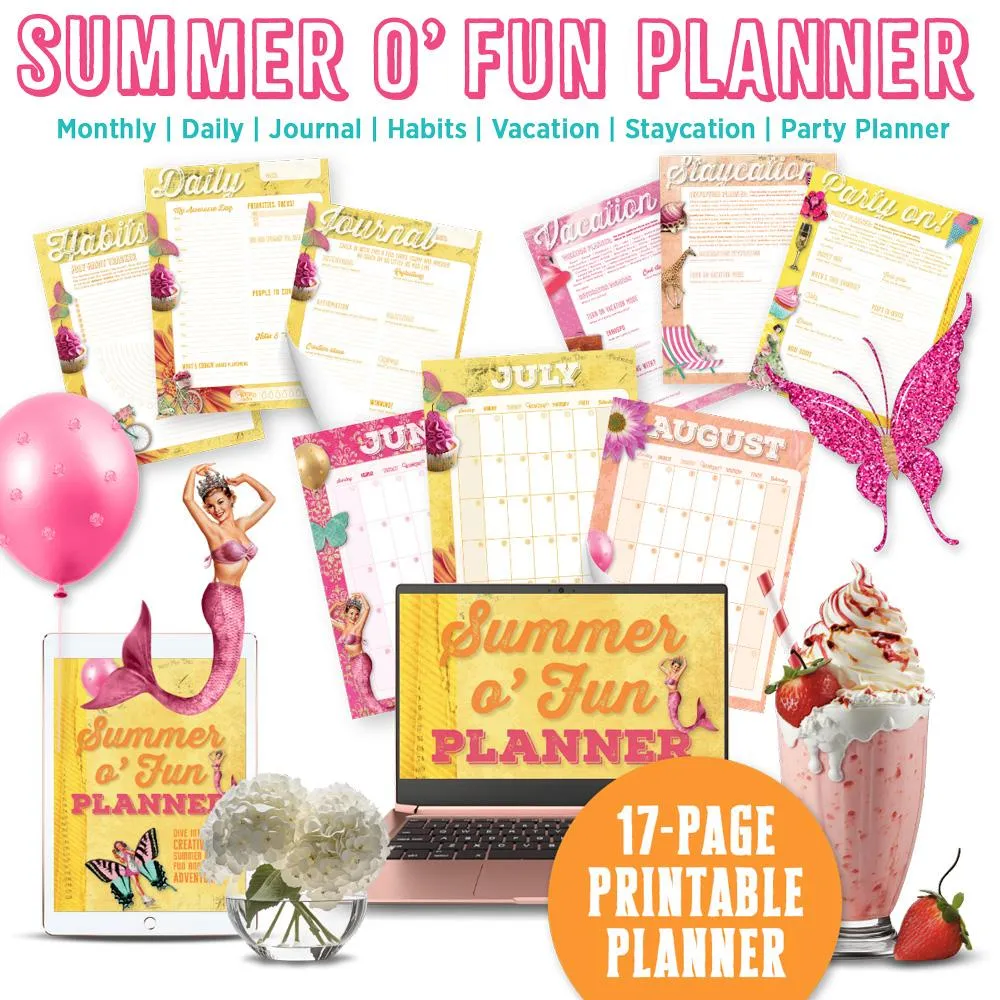
Summer o’ Fun Printable Planner ($27 value)
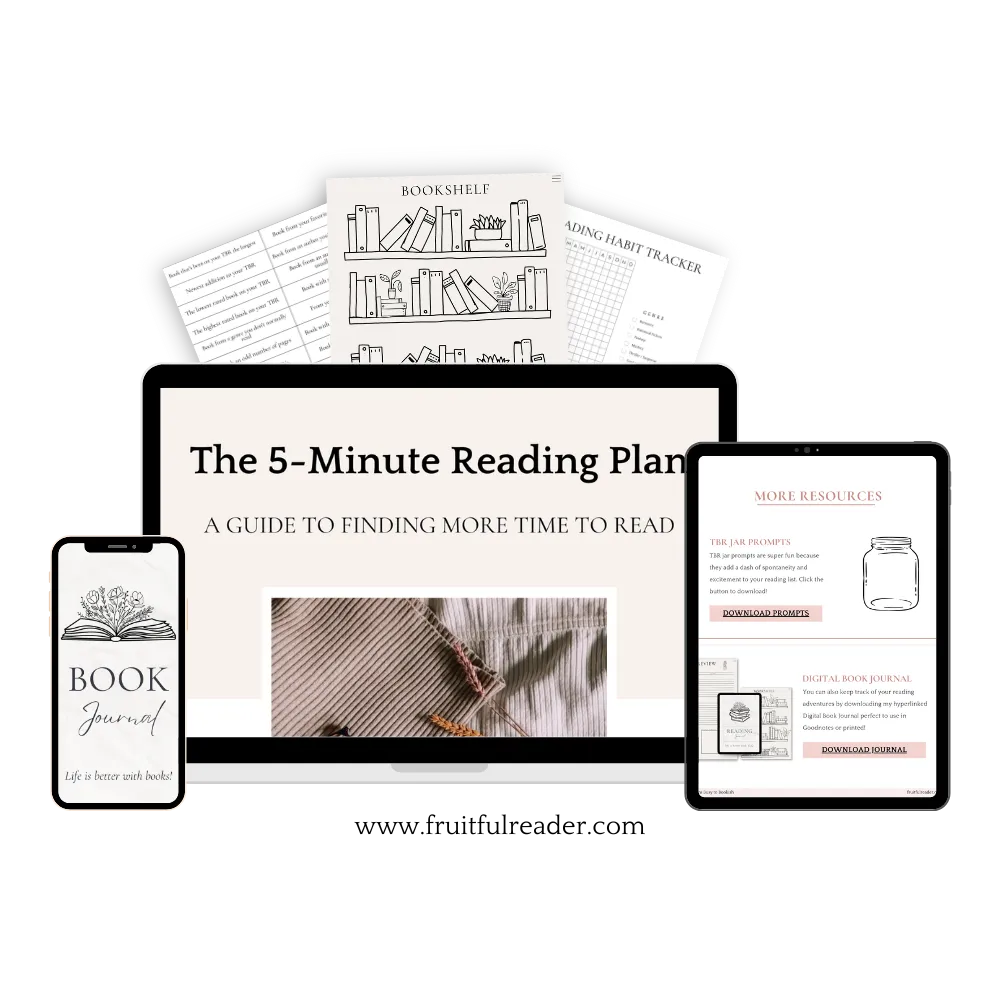
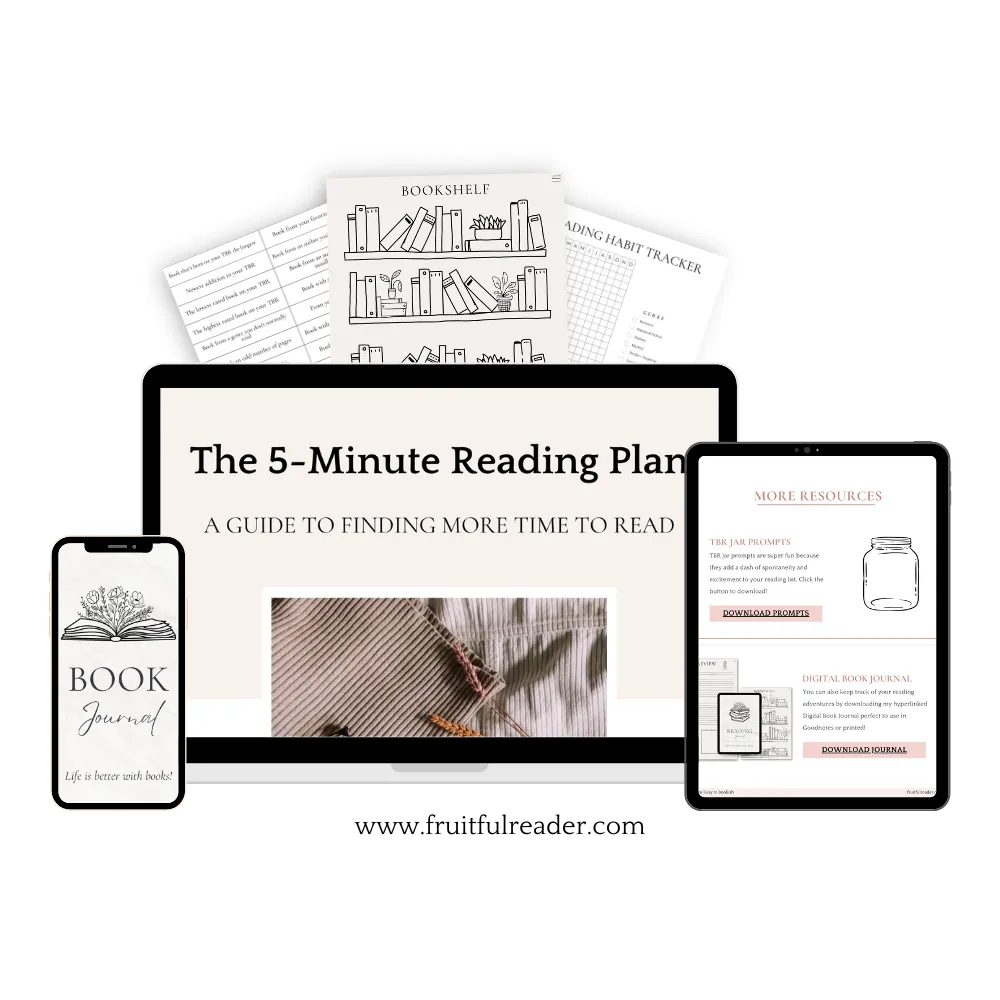
The 5 Minute Reading Plan: A Guide To Finding More Time To Read ($27 value)
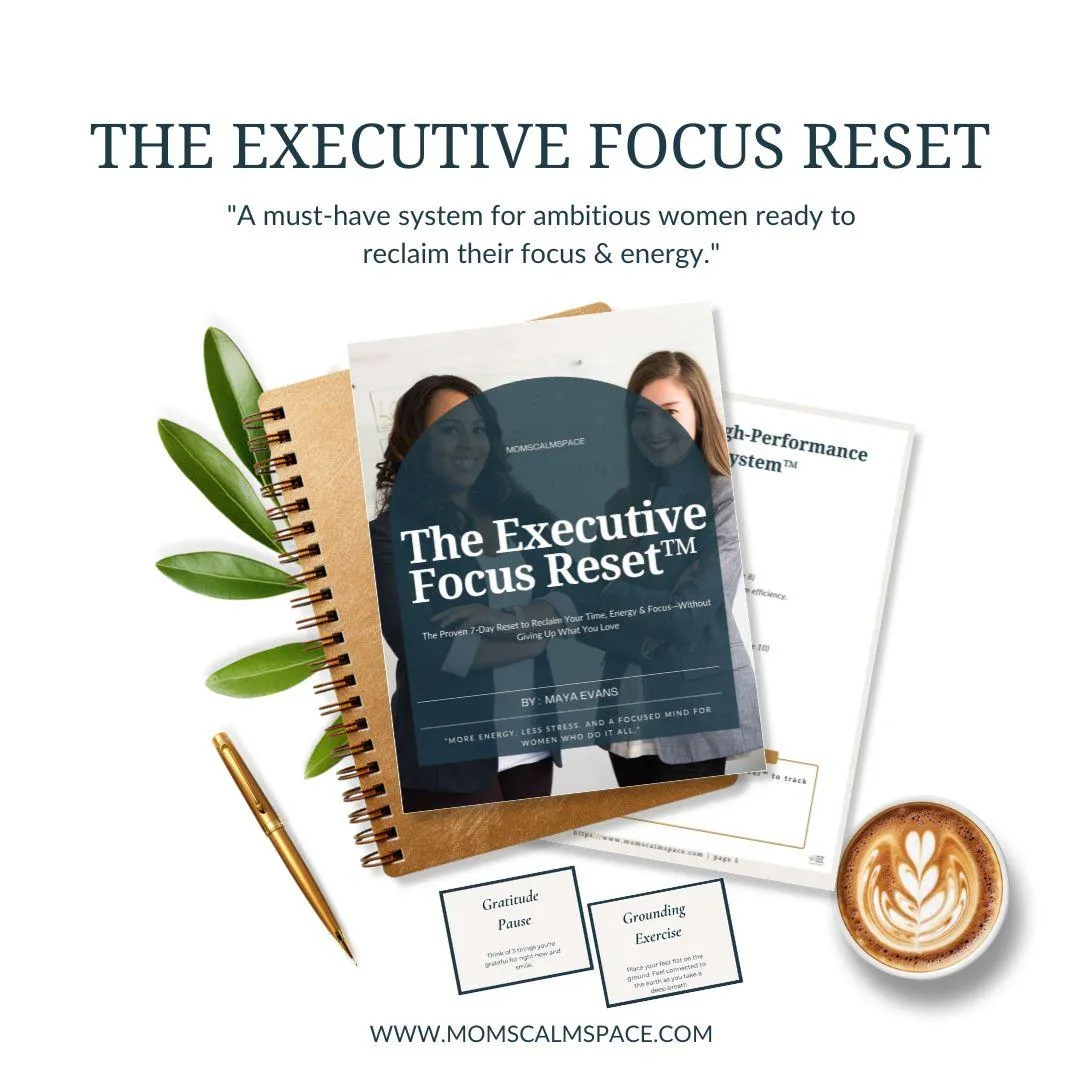
The Executive Reset A must-have system for ambitious women ready to reclaim their focus & energy. ($45 value)
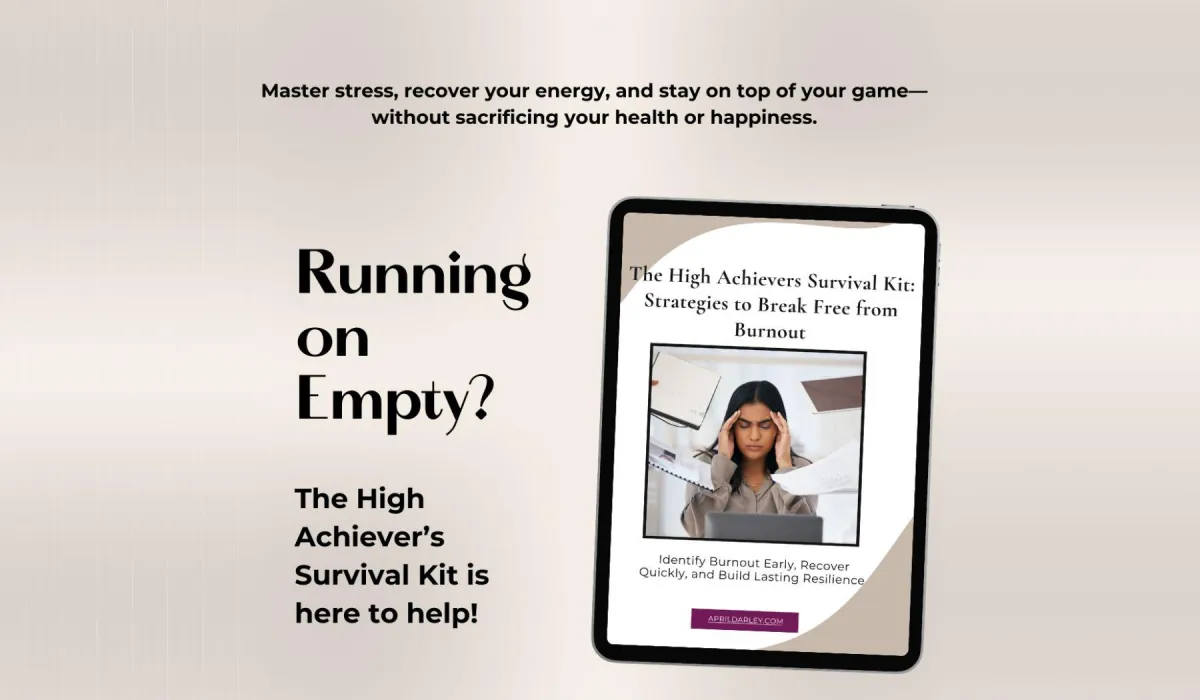
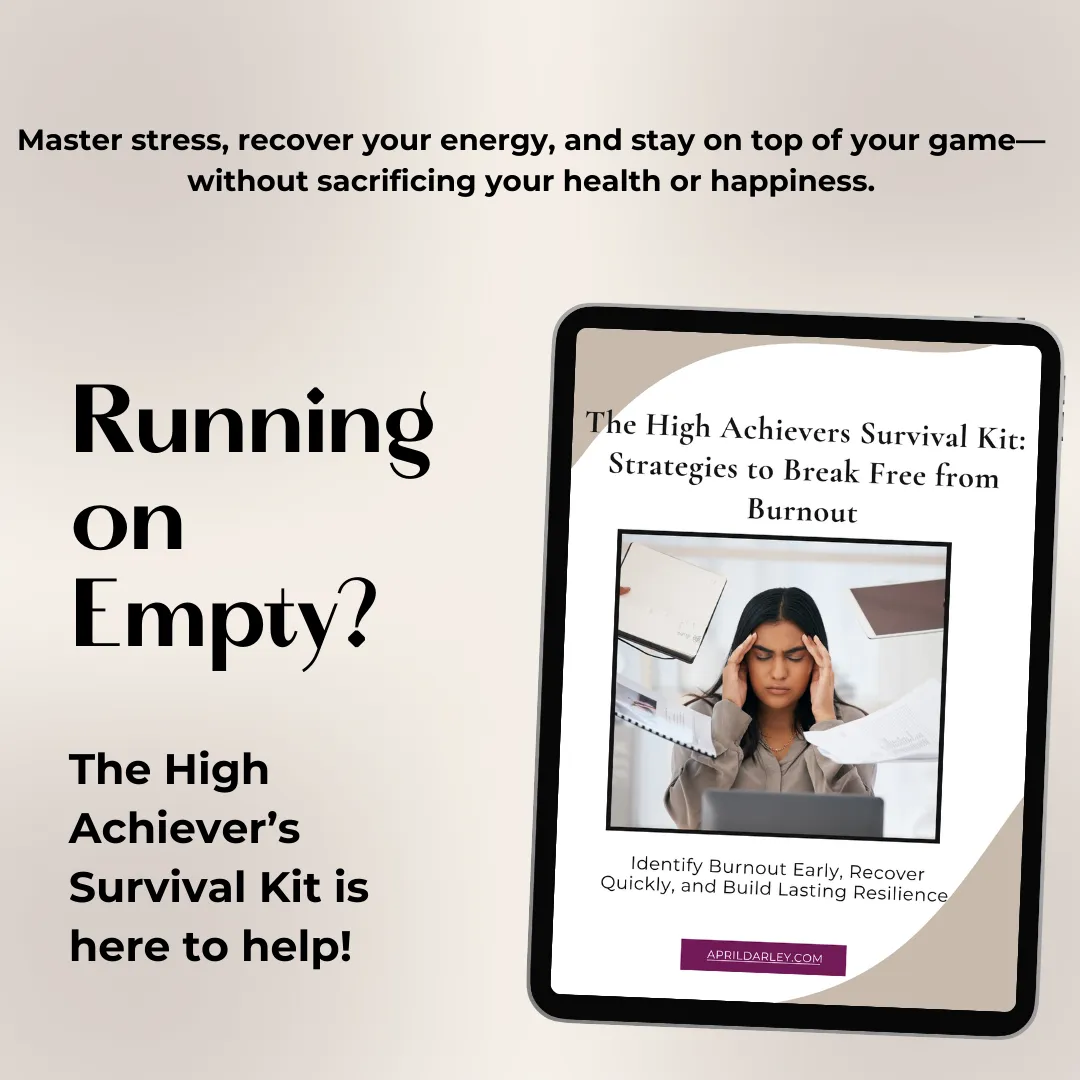
The High Achiever's Survival Kit: Strategies to Break Free from Burnout ($37 value)
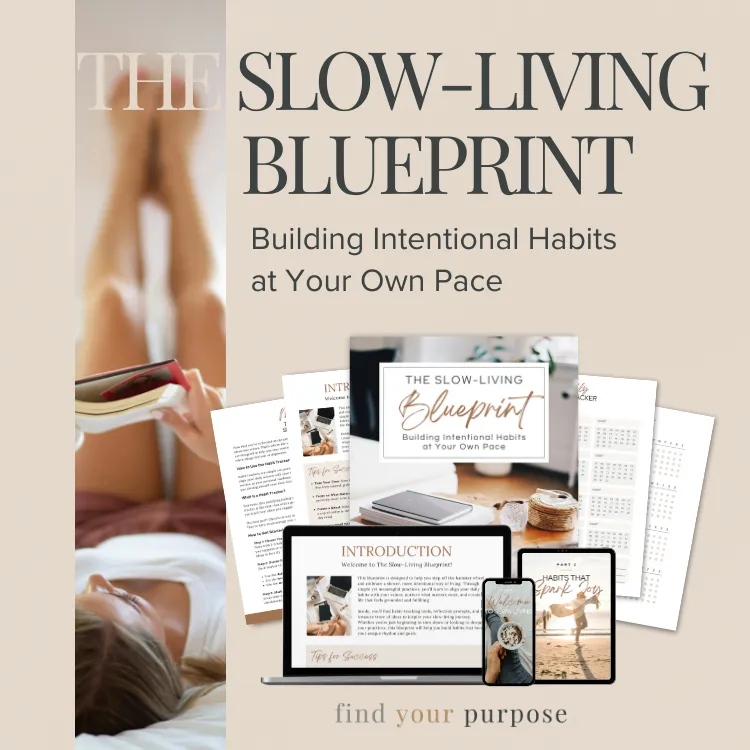
The Slow-Living Blueprint ($47 value)
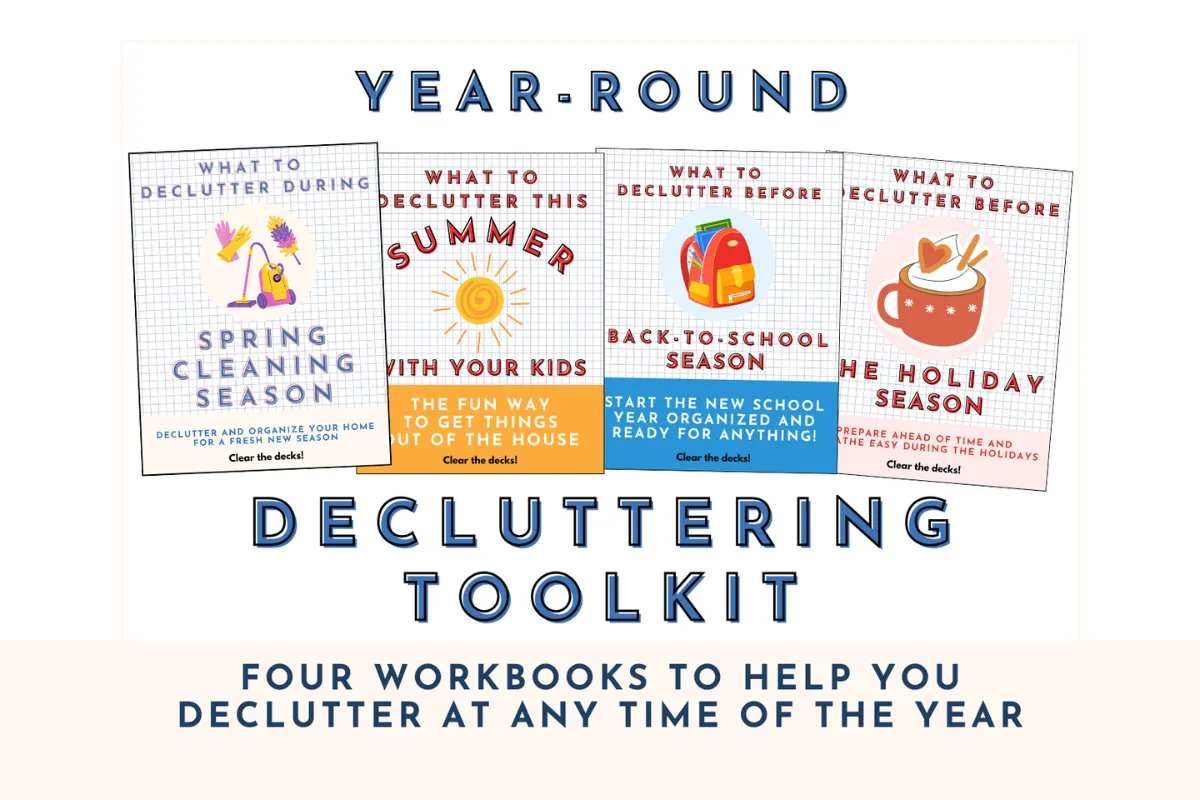
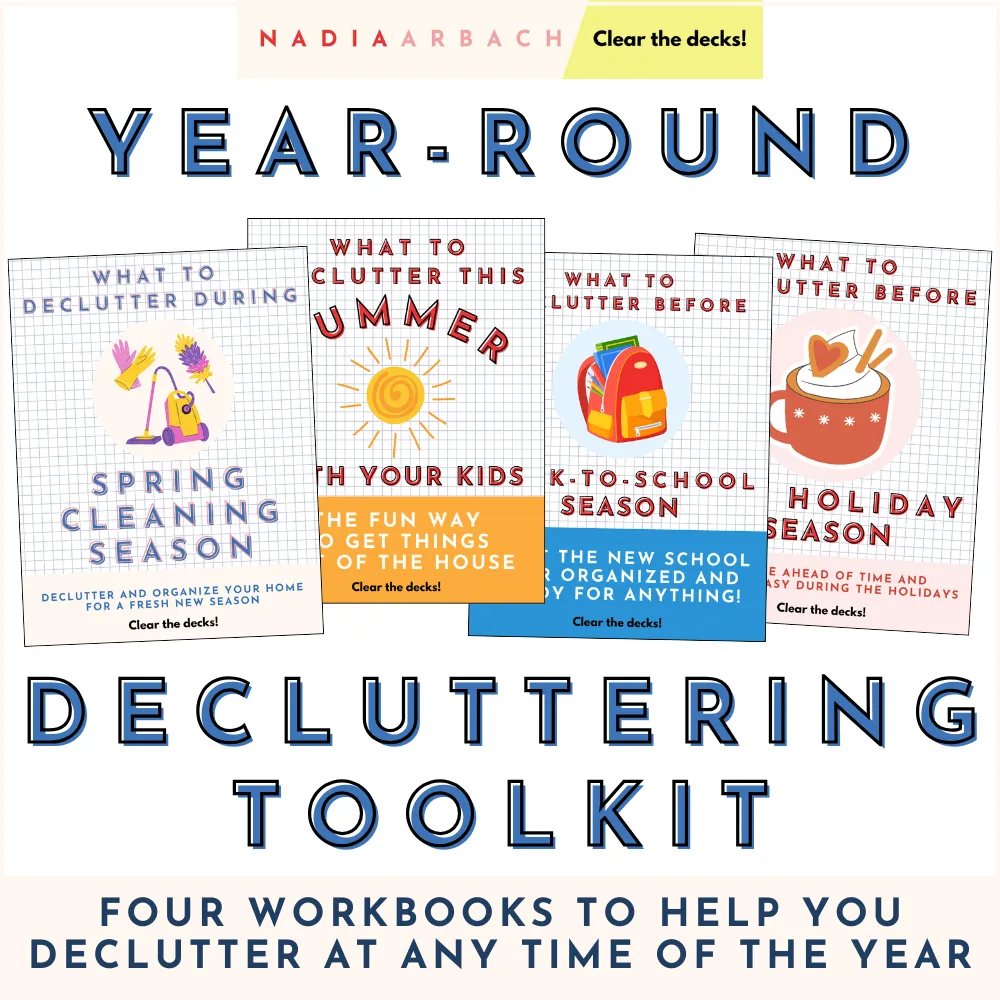
The Year-Round Decluttering Toolkit ($37 value)
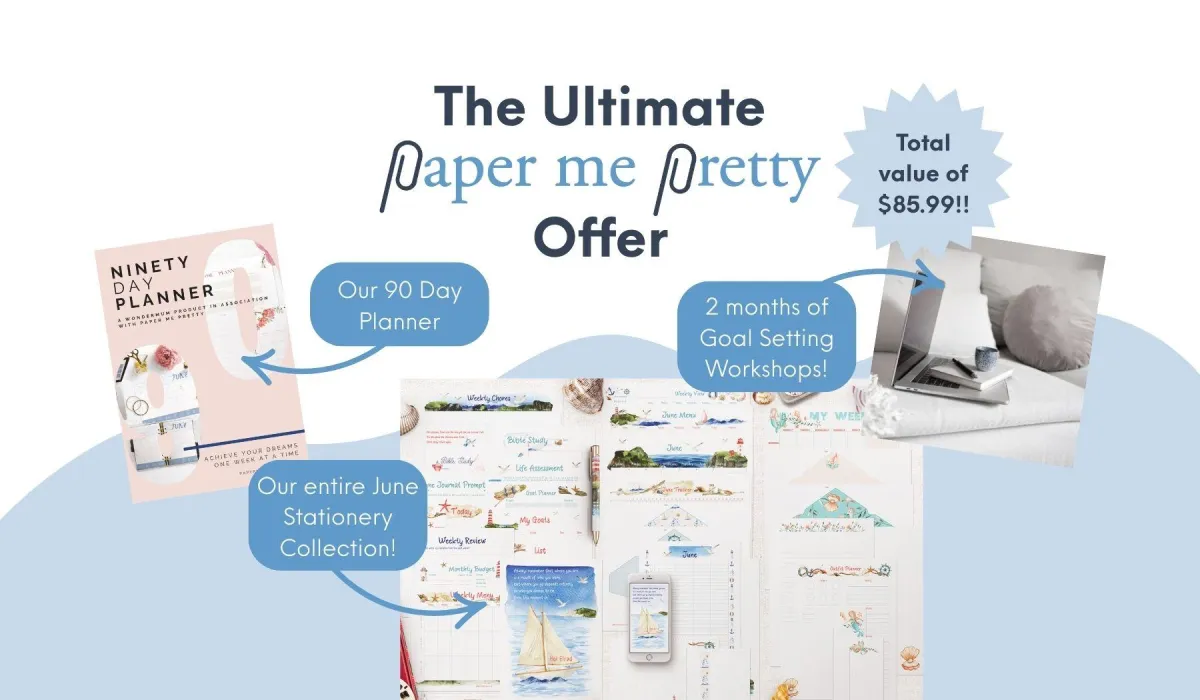
The Ultimate Paper Me Pretty Offer - One Month of Paper Me Pretty Stationery, The 90 Day Planner and 2 Month's access to Goal Setting Workshops ($85.99 value)
Time Revolution Workshop & Trial Time Tamers Group Coaching ($54 value)


that's over $1500 in resources for just
$27!
Here's how the bundle works
Head to your inbox
After you purchase your bundle, we'll send you an email with a link to access your dashboard.
browse the resources
Browse by category or just do a search to pinpoint exactly what you're looking for.
shop for free!
See something you like? Sign up for it by the 25th July with your 100% off coupons and dive into learning all the things!
reach out if you need help
We've double tested everything, but should you hit any bumps in your bundle experience, reach out to use via our dedicated support!
Ready to build the life of your dreams?
Let's chat
Ready to work with a coach to uplevel your life and business?
It's time to stop procrastinating and start getting things done the smart way, in less time than you think.
Get the Pretty Productive Bundle so you can become more productive and then some.
Get access to $1500 worth of resources for just
$27!
But only if you purchase this bundle today!
I'm new to productivity, is this for me?
Yes! There's so much you can learn from the items inside this bundle. The Pretty Productive Bundle has items that cater for productivity novices as well as productivity dinosaurs like myself! I can't wait for you to dive in!
Will my email address be shared with all the people who contributed to this bundle?
Of course not! The bundle gets you access to all of the items inside it for free. But that doesn't mean you have to grab every single one. It's totally your choice to select the items that appeal to you most. And for each of those items, you'll get a special link where you can access the product. Items you want to access will require you to enter your details so they can be sent to you directly. It's as simple as that!
I get so overwhelmed with lots of trainings and courses...
Don't worry! We've thought of that because we totally relate! When you go to purchase your bundle, there's a handy bundle tracker which you can add to your cart as an additional upgrade. This tracker helps you to pace yourself and keep track of the items you've worked through and the ones you still want to work through.
This is highly recommended if, like me, you tend to get overwhelmed with information overload! You're welcome! 😉
Just be sure to redeem any items you want to work through at a future date before access expires. Once you've been given access to items, they're yours to keep and work through at your own pace.
How long do I have access to the products?
Once you've purchased your bundle, you'll have until 25th July to redeem any items that tickle your fancy. After 25th July all the items in the bundle will return to their original price or become unavailable.
However, any items that you redeemed before 25th July are yours to keep and access forever.
I've got another question...
Simply reach out to us via the chat button below or email us at [email protected] and we'll get back to you as soon as we can.
Get Your Bundle here
And save 98% on these premium resources today!
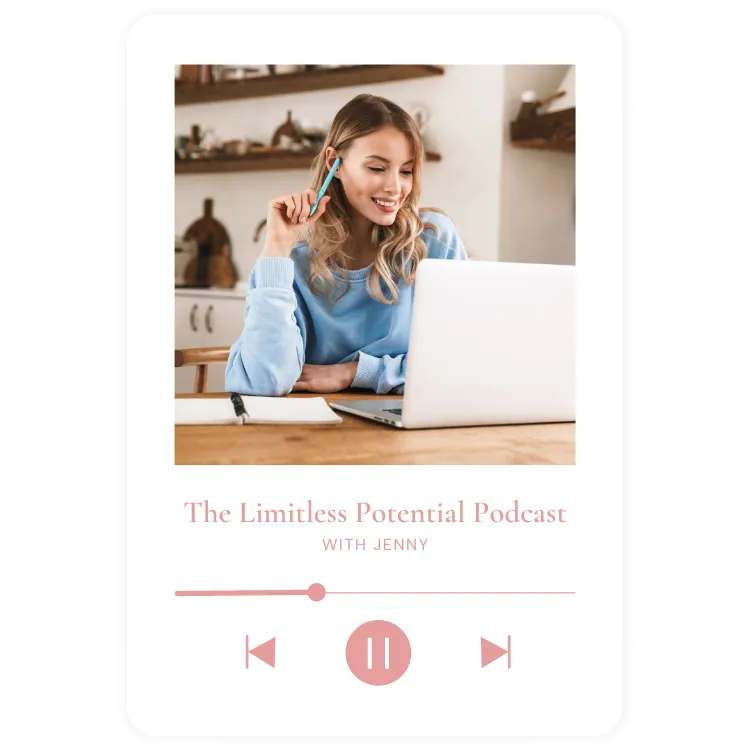
Listen to the
Podcast
view my
services
read the
BLOG
Let's chat
Ready to work with a coach to uplevel your life and business?

Let's learn
Learn at your own pace and make quantum leaps.
Student Love Notes
We've helped so many incredible students to find success as Virtual Assistants...

The VA Business Blueprint helped me to go from feeling completely stuck to starting my business and getting my first client!
Ellen, business name

I enrolled in the VA Services Academy feeling completely lost - within 2 weeks I knew exactly what to offer & what to charge.
Ellen, business name

Beginner to Booked Out was a game-changer for me. Anna and her team are incredible and I'm booked out for the next 3 months!
Ellen, business name
New on the blog...
My VA Business Blueprint to get your first client!
My VA Business Blueprint to get your first client!

My VA Business Blueprint to get your first client!
New on the blog...

How to Print Planner Inserts for Your Pretty A5 Planner
PRINT YOUR OWN BEAUTIFUL A5 PLANNER INSERTS
In this post, I’ll be sharing how you can print planner inserts and my recommendations for tools that will give you a great finished product and make things easier.
Before printing your planner inserts, you’ll need to know what kind of inserts you need to print. And to know that, you’ll need to know what kind of planner you have.
If you were given a planner by someone, or you just happened to pick one up of the shelf and you don’t know what size your planner is, this page will help you identify the size of planner you have.
If you haven’t already bought a planner and you’re still in the planning phase 😉, then choosing the right kind of planner will depend on how you’ll be using it.
- Will it need to be small enough to fit inside a small purse?
- Will you need the pages to be big enough to write in without feeling pressured to use your tiniest handwriting?
I’ve found that many people use either an A5 size planner or a Personal size planner. The Personal size planner is smaller than the A5 size, so it’s more handy for carrying around in smaller bags. The A5 has wider pages, allowing you to write more, make more notes and have more information on your pages.
Choosing what works best for you will depend on your preference.
In our monthly stationery collections, we currently have A5 and US Half Letter sizes of many of our items. You can check out our stationery club here. ⤵️

For this article, I'll be specifically looking at printing for an A5 planner.
The Right Printer
Firstly, it probably goes without saying, but you’ll need a printer if you plan on printing planner inserts.
If you already have a printer at home, test and see what it’s like at printing pages with colourful graphics and illustrations. If, even at ‘best quality’, you’re not happy with the result, and you’ve tried cleaning and aligning your printhead, then you might want to think about investing in a graphic-friendly printer.
I’ve had several printers over the years, and the one I’m currently using is great for printing in colour and even printing on heavy card stock! When I print note cards on 300gsm card stock and round the corners with a corner punch, they look as though they’ve been professionally printed!
The printer I currently have is this Canon printer and it's a good printer for media, colour documents and for printing on to really thick (300gsm) card. This is because it has a rear paper feed that can take thicker paper without bending it too much.
If you’d like to print on card but you’re not sure what thickness of paper your printer can handle I strongly recommend reading the manufacturer’s manual before trying to print on card stock. My previous printer died because I was trying to feed 300gsm card through it when it’s maximum paper thickness was 190gsm! If you don’t know the limits of your printer, don’t guess! It’s better to be safe than sorry!
I’d also recommend that you use a cartridge printer and not a toner printer. Most domestic printers are cartridge printers and use separate ink cartridges for the various coloured inks. Toner printers are often used in schools and offices for printing large quantities of black and white documents.
Okay, moving on from printers, let’s talk about papers.
The Right Paper
There are a ton of different paper types out there. And the type of paper you choose to use depends a lot on how whether you prefer a week to view page or a page-a-day view. Basically, how many pages you’ll be putting into your planner.
I have an A5 planner, and I like to use 90gsm A5 paper and 120gsm A5 paper. The different gsm’s I mentioned refer to the weight of the paper. The higher the gsm, the thicker the paper or card. I like the 90gsm for my daily pages and general planner sheets, and I use the 120gsm for my Art Print quote page as I like a heavier page at the start of my month - but that’s just me!
If you’re a page-a-day person
Then I’d recommend thinner paper (like 80gsm or 90gsm) so that you can fit more pages inside your planner. However, if you really hate seeing ink coming through on the reverse side of your pages, then you’ll probably want to use 100gsm paper.

Weekly view pages inside our monthly stationery club.
If you’re a week-to-view person
Then you can use heavier paper without having to worry too much about having an over-bulging planner.
I don’t recommend using hand pressed papers to print on. The uneven surface of hand pressed paper makes it difficult to print stationery with a uniform look. You’ll have some pages with complete lines and others where the lines are patchy.
If you want to have some pages that are printed on cold pressed paper you can do this. Just be sure that whichever paper stock you choose, it has a fairly smooth surface.
One final point about paper.
If you have an A5 planner, then I’d recommend using A5 paper. This might sound obvious, but I mention this because I know that it’s tempting to print planner inserts on A4 and then cut the paper in half. And whilst you do end up with two A5 pieces, unless you’re a robot, you’re likely to end up with pieces of paper which are almost A5... but not quite. And when you put them all in your planner, the pages will stick out at different heights. Don’t ask me how I know this! 🤦🏽♀️
So my tutorial below will walk you through steps assuming that your printer doesn't print duplex on A5 either.
What’s printing to the edge?
This is where your printer can print ink right up to the edge of the paper (without leaving a gap for the margin).
What’s duplex printing?
This is where you printer can print on both sides of the same piece of paper without you having to feed it through the printer again.
So we’ve covered printers and paper. Let’s move on to the main reason you’re here! How to print your own planner inserts!

Various printables inside our monthly stationery club.
How to Print Planner Inserts & Refills
Okay, so I’m gonna just get this out of the way. As the creator of Paper Me Pretty, I use the stationery items inside the monthly bundles as the basis of the items I include in my A5 planner. So if you’re looking for beautiful planner inserts that you don’t have to create yourself from scratch, I highly recommend you join our stationery club so you can get beautiful new stationery each month. Click below to find out more and join.
Plan before Printing
Before you begin to print planner inserts, you should to have an idea of the different page layouts you want to include in your planner. And you'll need to know how many pages of each layout you want to print.
Knowing this before you begin printing will remove a lot of headache about wasting paper.
The key is to have an even number of pages that you want to print (unless you specifically want a one-sided page).
So, here’s an example of what it might look like if I plan on having a day-to-view spread in my planner:
Say I want to print a month’s worth of pages with:
a day-to-view spread
a weekly review page each week
A month-to-view calendar and
3 goal planner pages
Let's start with the Day-to-View sections
Because there are seven days in a week, I would need to add a page to the daily pages so that there will be an even number of pages. So if I added one weekly review page to my daily section, I will now have 8 pages. Now my weekly sections will be complete as they have an even number of pages.
Now for the Monthly Calendar
With my month-to-view calendar, I have a few options. Because the month will be split across two pages that face each other, I will need pages to go on the reverse sides of the calendar.

Calendar pages inside our monthly stationery club.
For the left-hand side of the calendar, I like to put an Art Print Quote on the reverse side. This is because it’s a lovely start to my month to see this as the first page. And on the right-hand side of the calendar, I like to use a Notepaper page on the reverse side. This is a nice place to jot down ideas, notes and other things.
If you wanted, you could simply put Notepaper pages on both of the reverse sides of your calendar. Or you could print a page with the title of the month on the reverse side of your left-hand calendar page.
And finally, let's plan our Goal Planner pages

An A4 goal planner page inside our stationery club. (We also have A5 and US versions)
With the Goal Planner pages, you can choose to print the three Goal Planner pages and add a Notepaper page to make it a total of 4 (even) pages. Or you could print a Notepaper page on the reverse of each Goal Planner page. That would make a total of 6 (even) pages. The latter is how I like to print my Goal Planner pages. That's because it gives me somewhere close by to write extra tasks, ideas or things I’ve researched for my goal.
How to print double-sided A5
This is the part that often trips people up when it comes to printing refill inserts for their A5 planner.
The way to not get confused is to think of each page as either a front page or a back page. Your front pages will be all the pages on the right-hand side of your planner. Whilst your back pages will be all the pages on the left-hand side of your planner.
Got a friend who needs to see this post? Share this page with them!
Printing your Day-to-View Planner Inserts
So, let’s start with printing our day-to-view pages first. And I’m going to assume that your printer doesn’t print duplex A5.
Let’s say we want to print four weeks of our daily sections - so that’s four sections.
Each section will be 8 pages long and will use 4 sheets of paper (once we’ve printed on both sides). One of these sheets will have a Weekly Review page on the back side of it.
So, to clarify, each week will use 4 sheets of A5 paper.
4 weeks x 4 A5 sheets = 16 A5 sheets.
Once your A5 paper is loaded into your printer, print 16 copies of your Daily Page.
When that’s done, remove 4 of the sheets (which we’re reserving for our Weekly Review Pages).
You’ll be left with 12 copies of your Daily Page. Insert these pages into your printer so that when they print, the copy will print on the reverse of each page.
Now, you'll print 12 more copies of your Daily Page. You should now have 12 sheets that have your Daily Page printed on both sides.
Next, take your remaining 4 copies that you set aside and put these in your printer so that when printing, they will print on the reverse of each page.
Then print 4 copies of your Weekly Review page. You should now have 4 sheets with a Daily Page on one side and a Weekly Review page on the other. Your Daily Page is the front page and your Weekly Review is the back page. You can now put one of these pages after every third Daily Page sheet to make your four weekly sections complete. And you can now hole punch these pages and put them in your planner.

An A5 month to view calendar inside our stationery club.
Printing a Month to View Calendar
Let’s move on to printing our calendar pages. Inside our stationery club, we have calendar pages specially designed to print with a month-to-view across two A5 (or US Half Letter) sheets. This means that printing your month to view calendar is as easy as opening the document and selecting 'print'!
Once you’ve got your monthly calendar printed, you’ll want to print the reverse sides. And this is pretty simple.
Let’s start with the left-hand side calendar page. Put it in your printer so that you can print on the reverse of it. Then just choose your option for the reverse side of your left-hand calendar page and print one copy of that.
Do the same for your right-hand side calendar page. You should now have a month-to-view calendar with your chosen pages printed on the reverse of each side. Remember, when hole punching these pages to place the calendar pages FACING each other!
Printing the Goal Planner Pages
For our final section, our Goal Planner pages, if you want the 4-page option, simply print 2 copies of your Goal Planner Page. Then put one of your copies back into your printer so that you can print on the reverse side and then print one more copy of the Goal Planner Page.
Put the remaining Goal Planner page into your printer so that you can print on the reverse side and print one copy of your Notepaper page. You should now have 2 sheets with Goal Planner pages on three of the sides and a Notepaper page on one of the sides. Your Notepaper page is the back page for this mini section. You can hole punch these and place them in your planner.
If you’d like to print the 6-page option, simply print 3 copies of your Goal Planner page. Once done, put these pages back into your printer so that you can print on the reverse and then print 3 copies of your Notepaper page. Simple! You’ll now have 3 sheets with Goal Planner pages on the front and Notepaper pages on the back. You can now hole punch these and place them in your planner.
Hole Punches
If you’re opting for an A5 or a Personal planner, you’ll need a 6-hole punch.
If you’re opting for a full size A4 planner, then you’ll need an A4 4-hole punch.
So there you have it! A mini tutorial on how to print refill inserts for your A5 planner. If you have any questions related to planners or refill pages or our stationery club, let us know!
And if you'll like pretty stationery, then you need to join our club!
Our members love getting their monthly stationery collections each month. Have a look at what our members have been saying:
I’ve been a subscriber now for 3 months and have not been disappointed! Your collections are beautiful, and very practical! You’ve really helped me to get my family a bit more organised!
JILL
Both beautiful AND functional – what more could I ask for? Please keep it up! Happy to be a part of this membership – using the tracker daily!
CAROL
Plus, having beautiful stationery designed for you each month means that you won’t waste any time looking for pretty stationery to put into your planner (trust us, we’ve looked and we couldn’t find any prettier than ours!).
And it means that you’ll never run out of pretty stationery for your planner or your home. Joining our club allows you to print off what you need, which will help to reduce waster, and it means that if you need more of a particular page (note paper or list pages for example), you can simply print them off and go!
So don’t wait! Join our club today and get your pretty paper on autopilot!


Other posts you may like: